My friend Kamal needed some practice welding before he started on his sweet bike frame, so he asked around if anyone needed stuff welded. Rather than weld some modern art together, we came up with something entertaining, yet still trashy. I give you: the industrial-grade steel Kazoo:
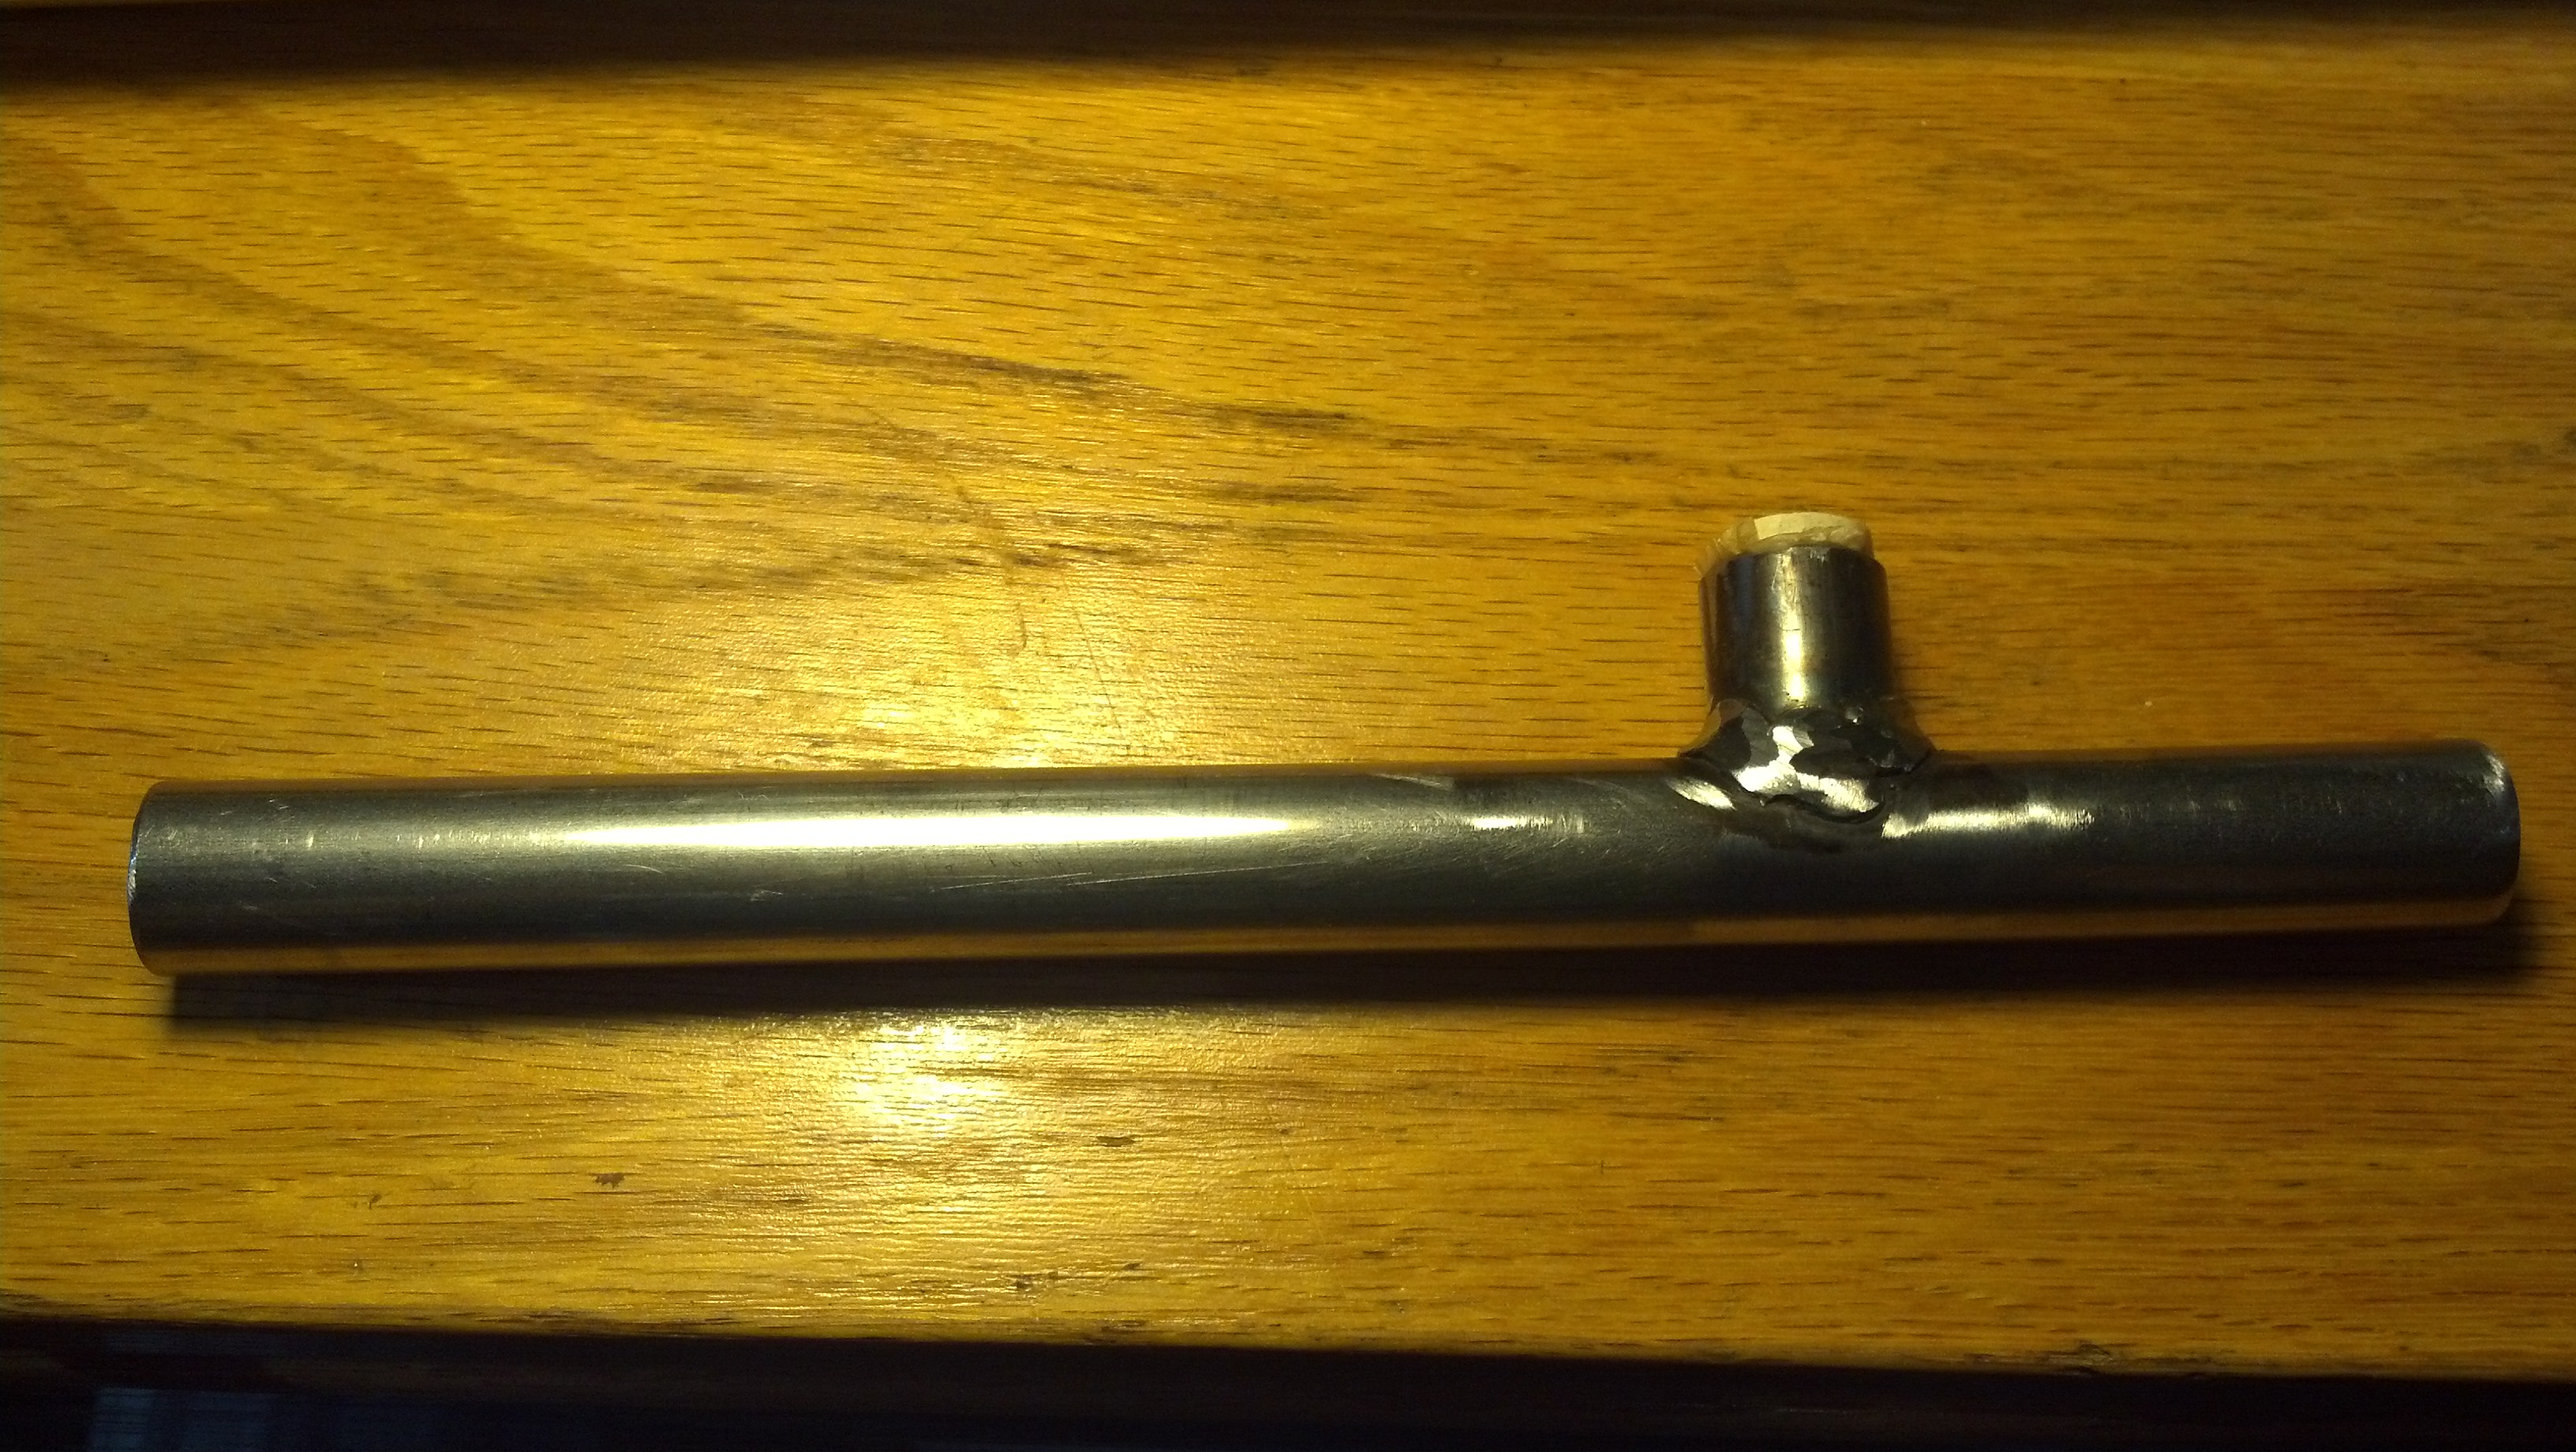
This beauty will survive even a frustrated listener snatching it out of a 9-year-old’s mouth and kicking it out a window.
First, we cut appropriate holes in some steel pipe. Then, we welded the pieces together.
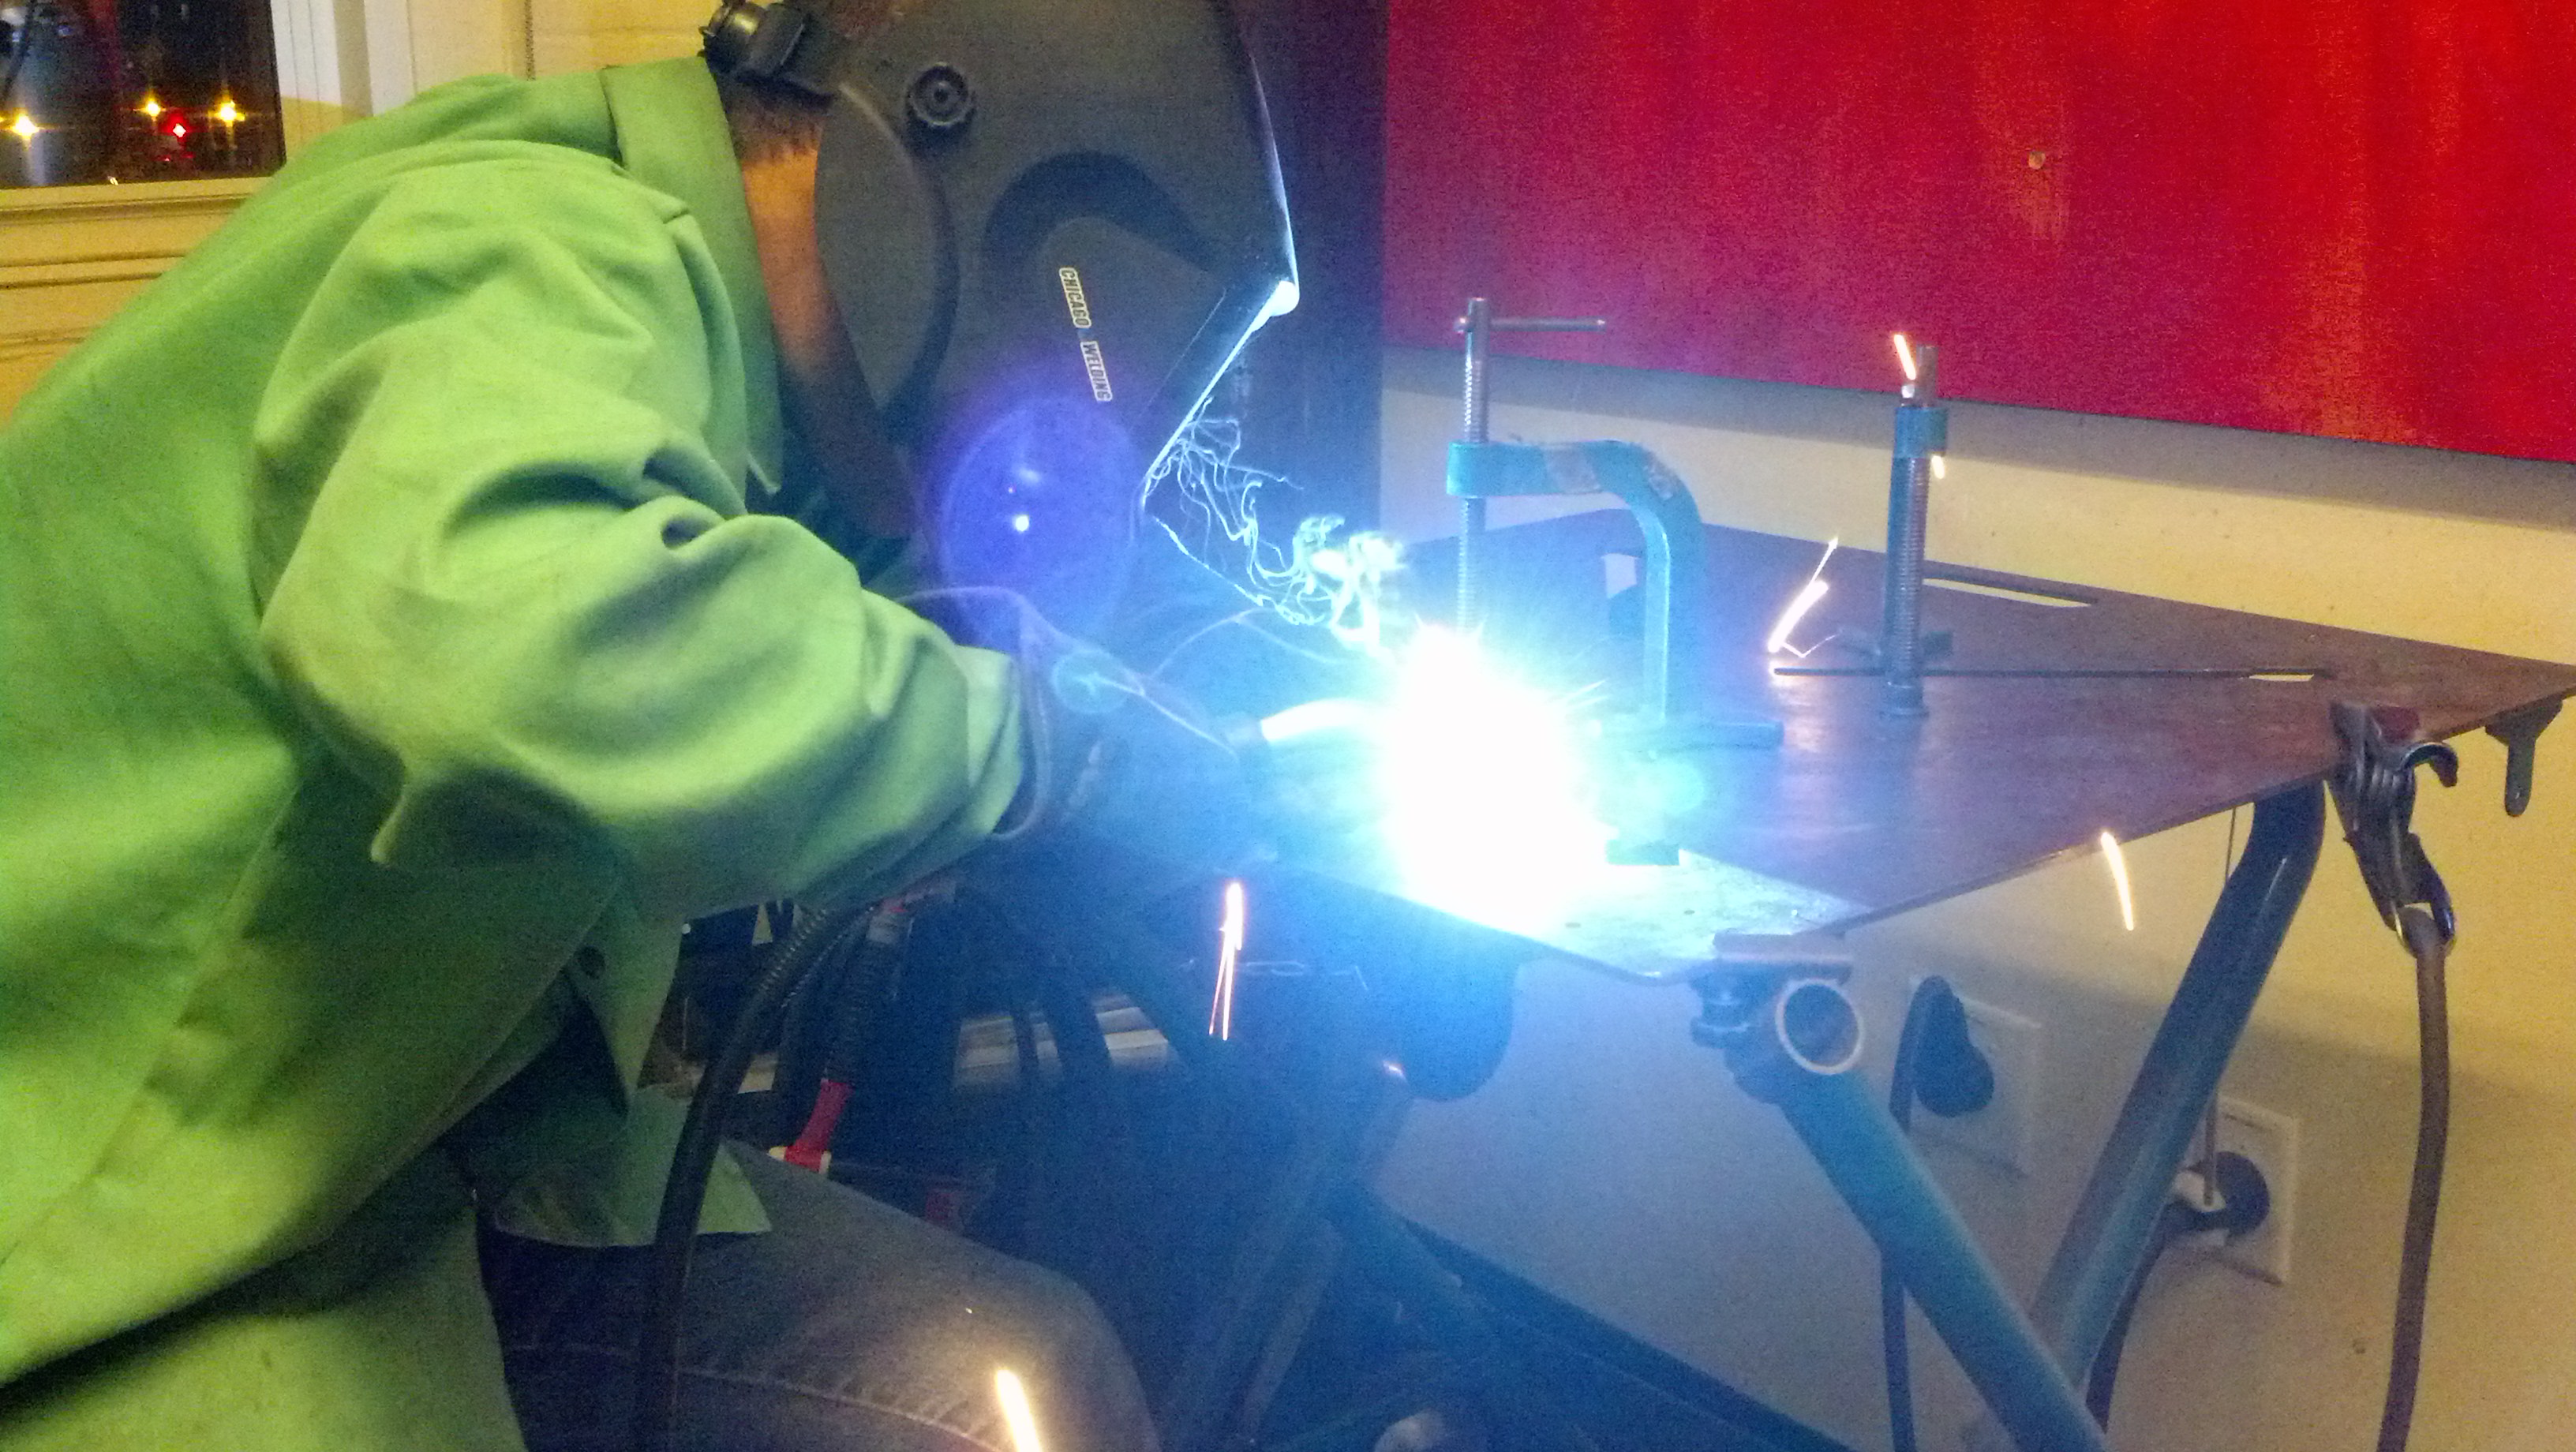
Kamal welds some bike-frame-sized scraps of pipe together.
Since he wanted to get a solid seal around the weld where the two pieces met to form a T but it was some of his first work, Kamal ended up with some excess weld, so he ground it off.
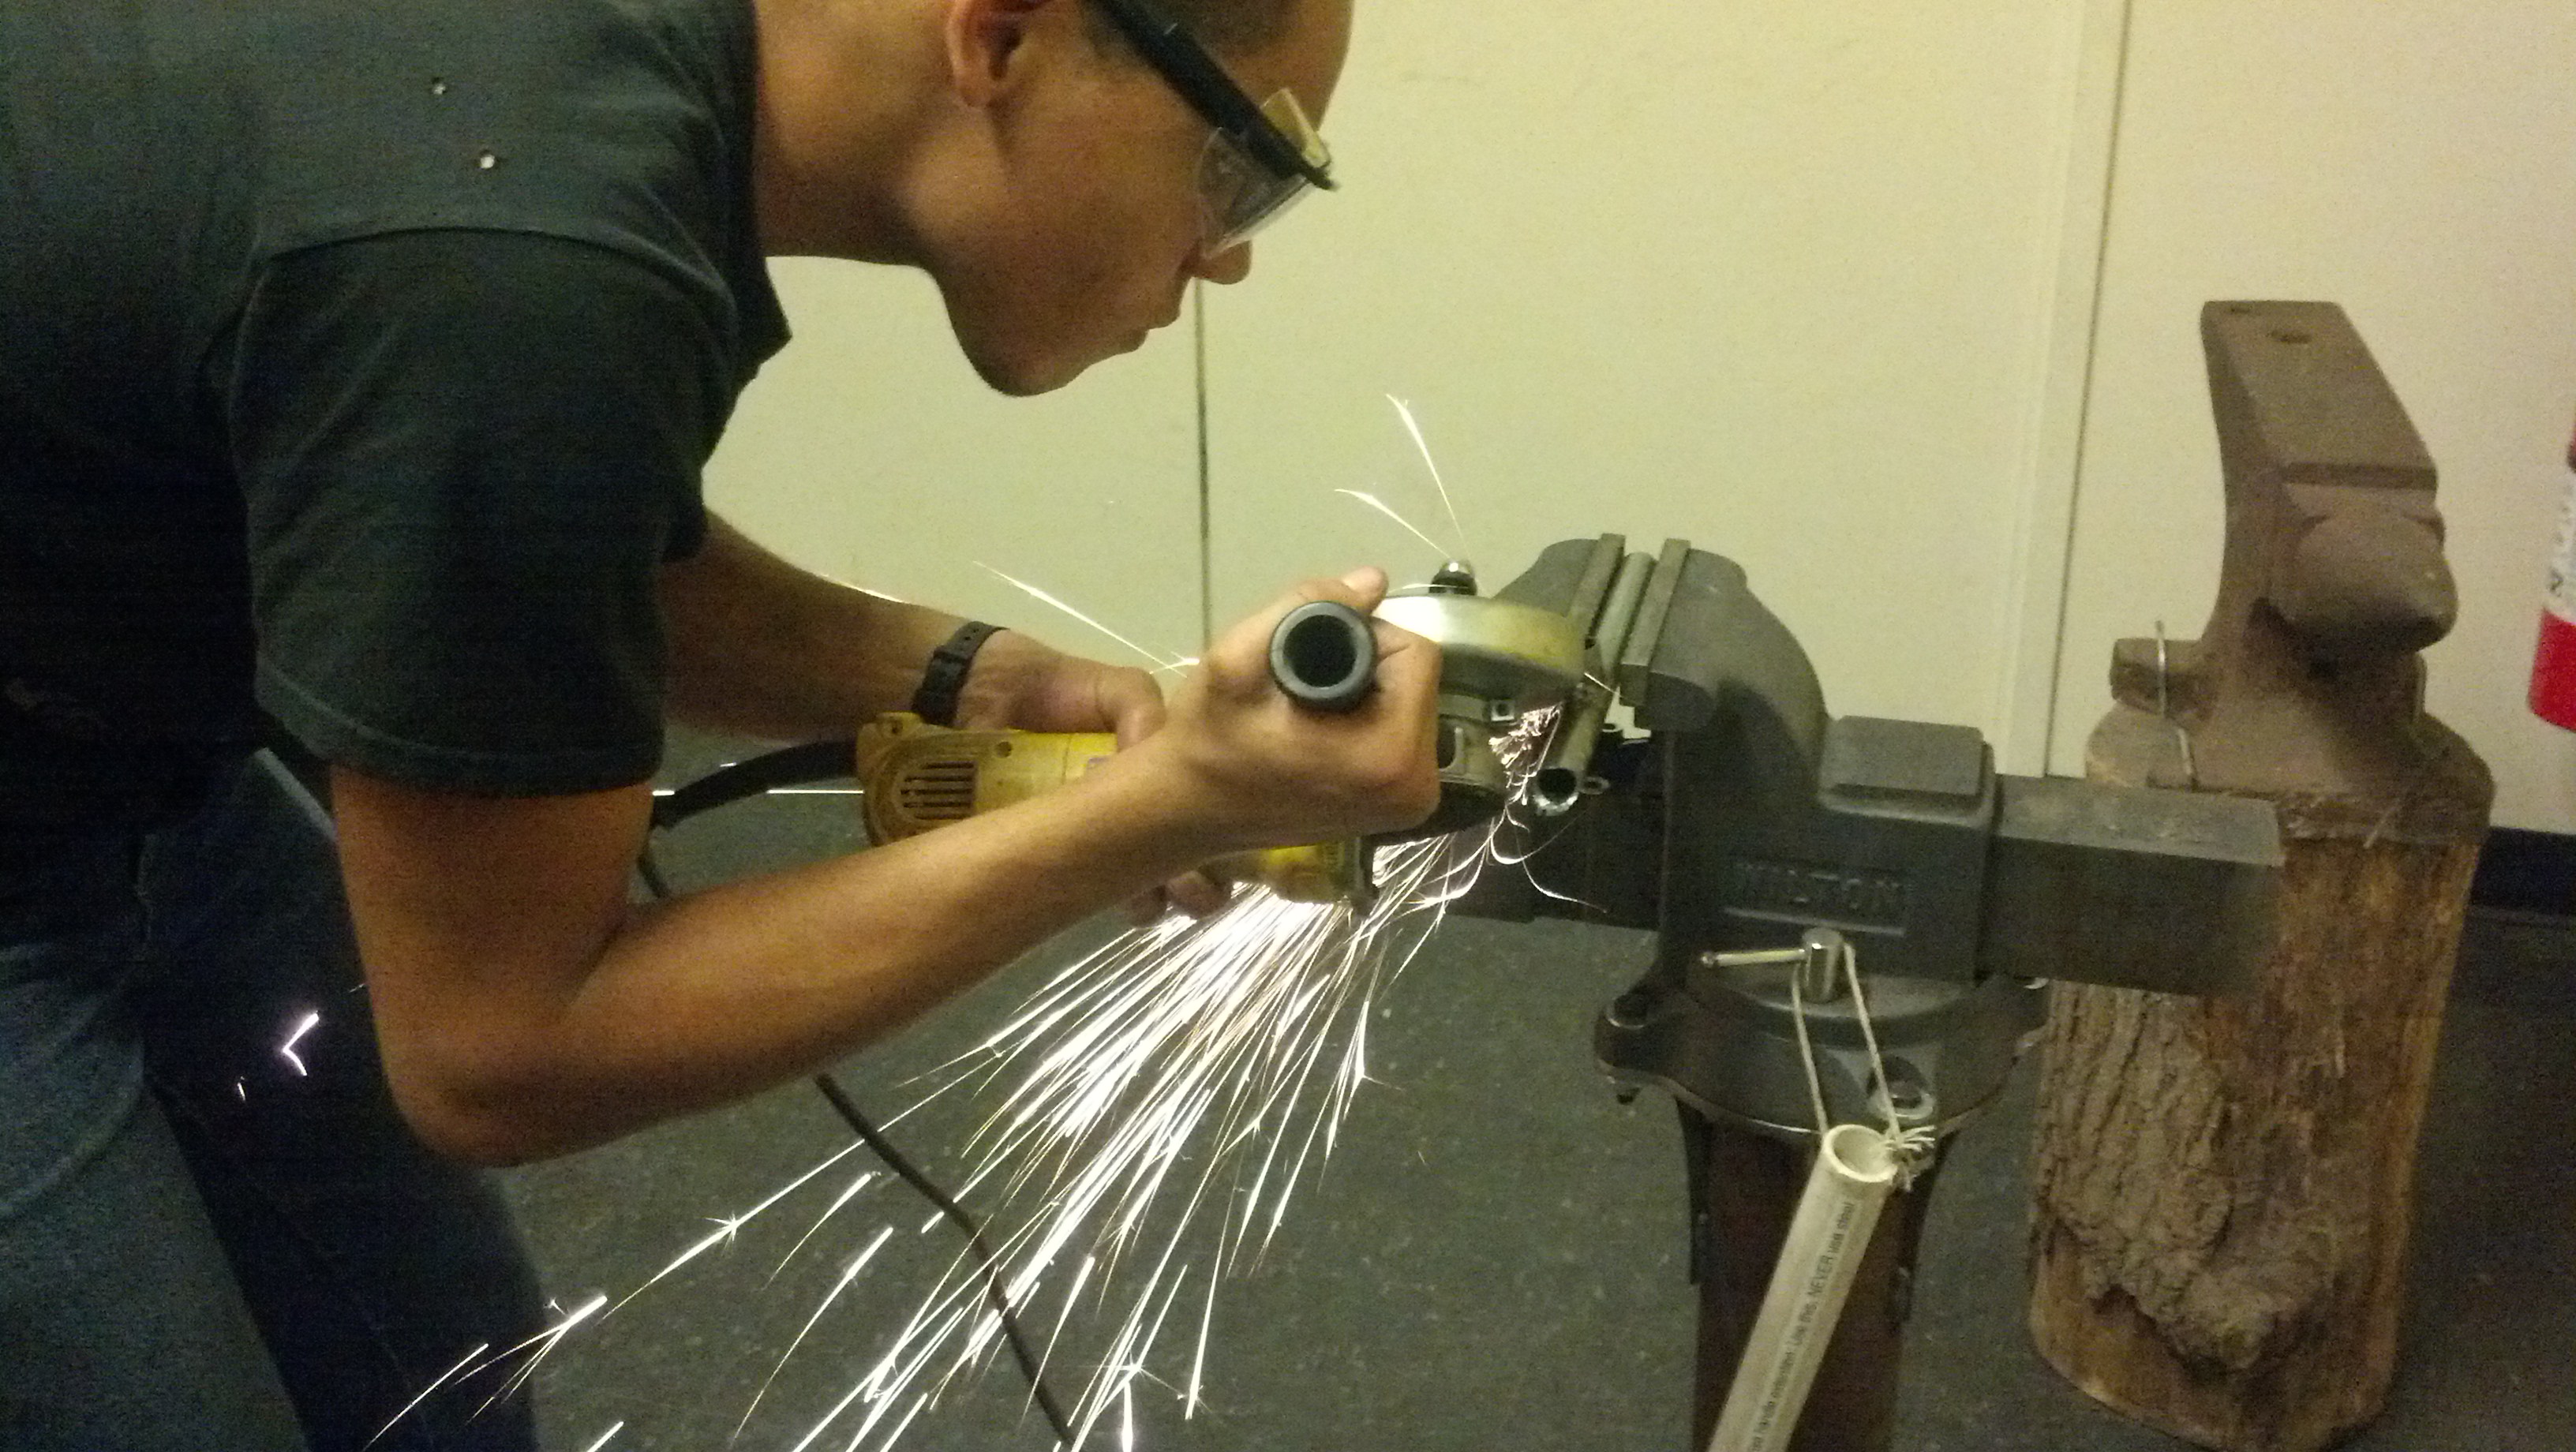
Kamal smooths off the weld of the kazoo.
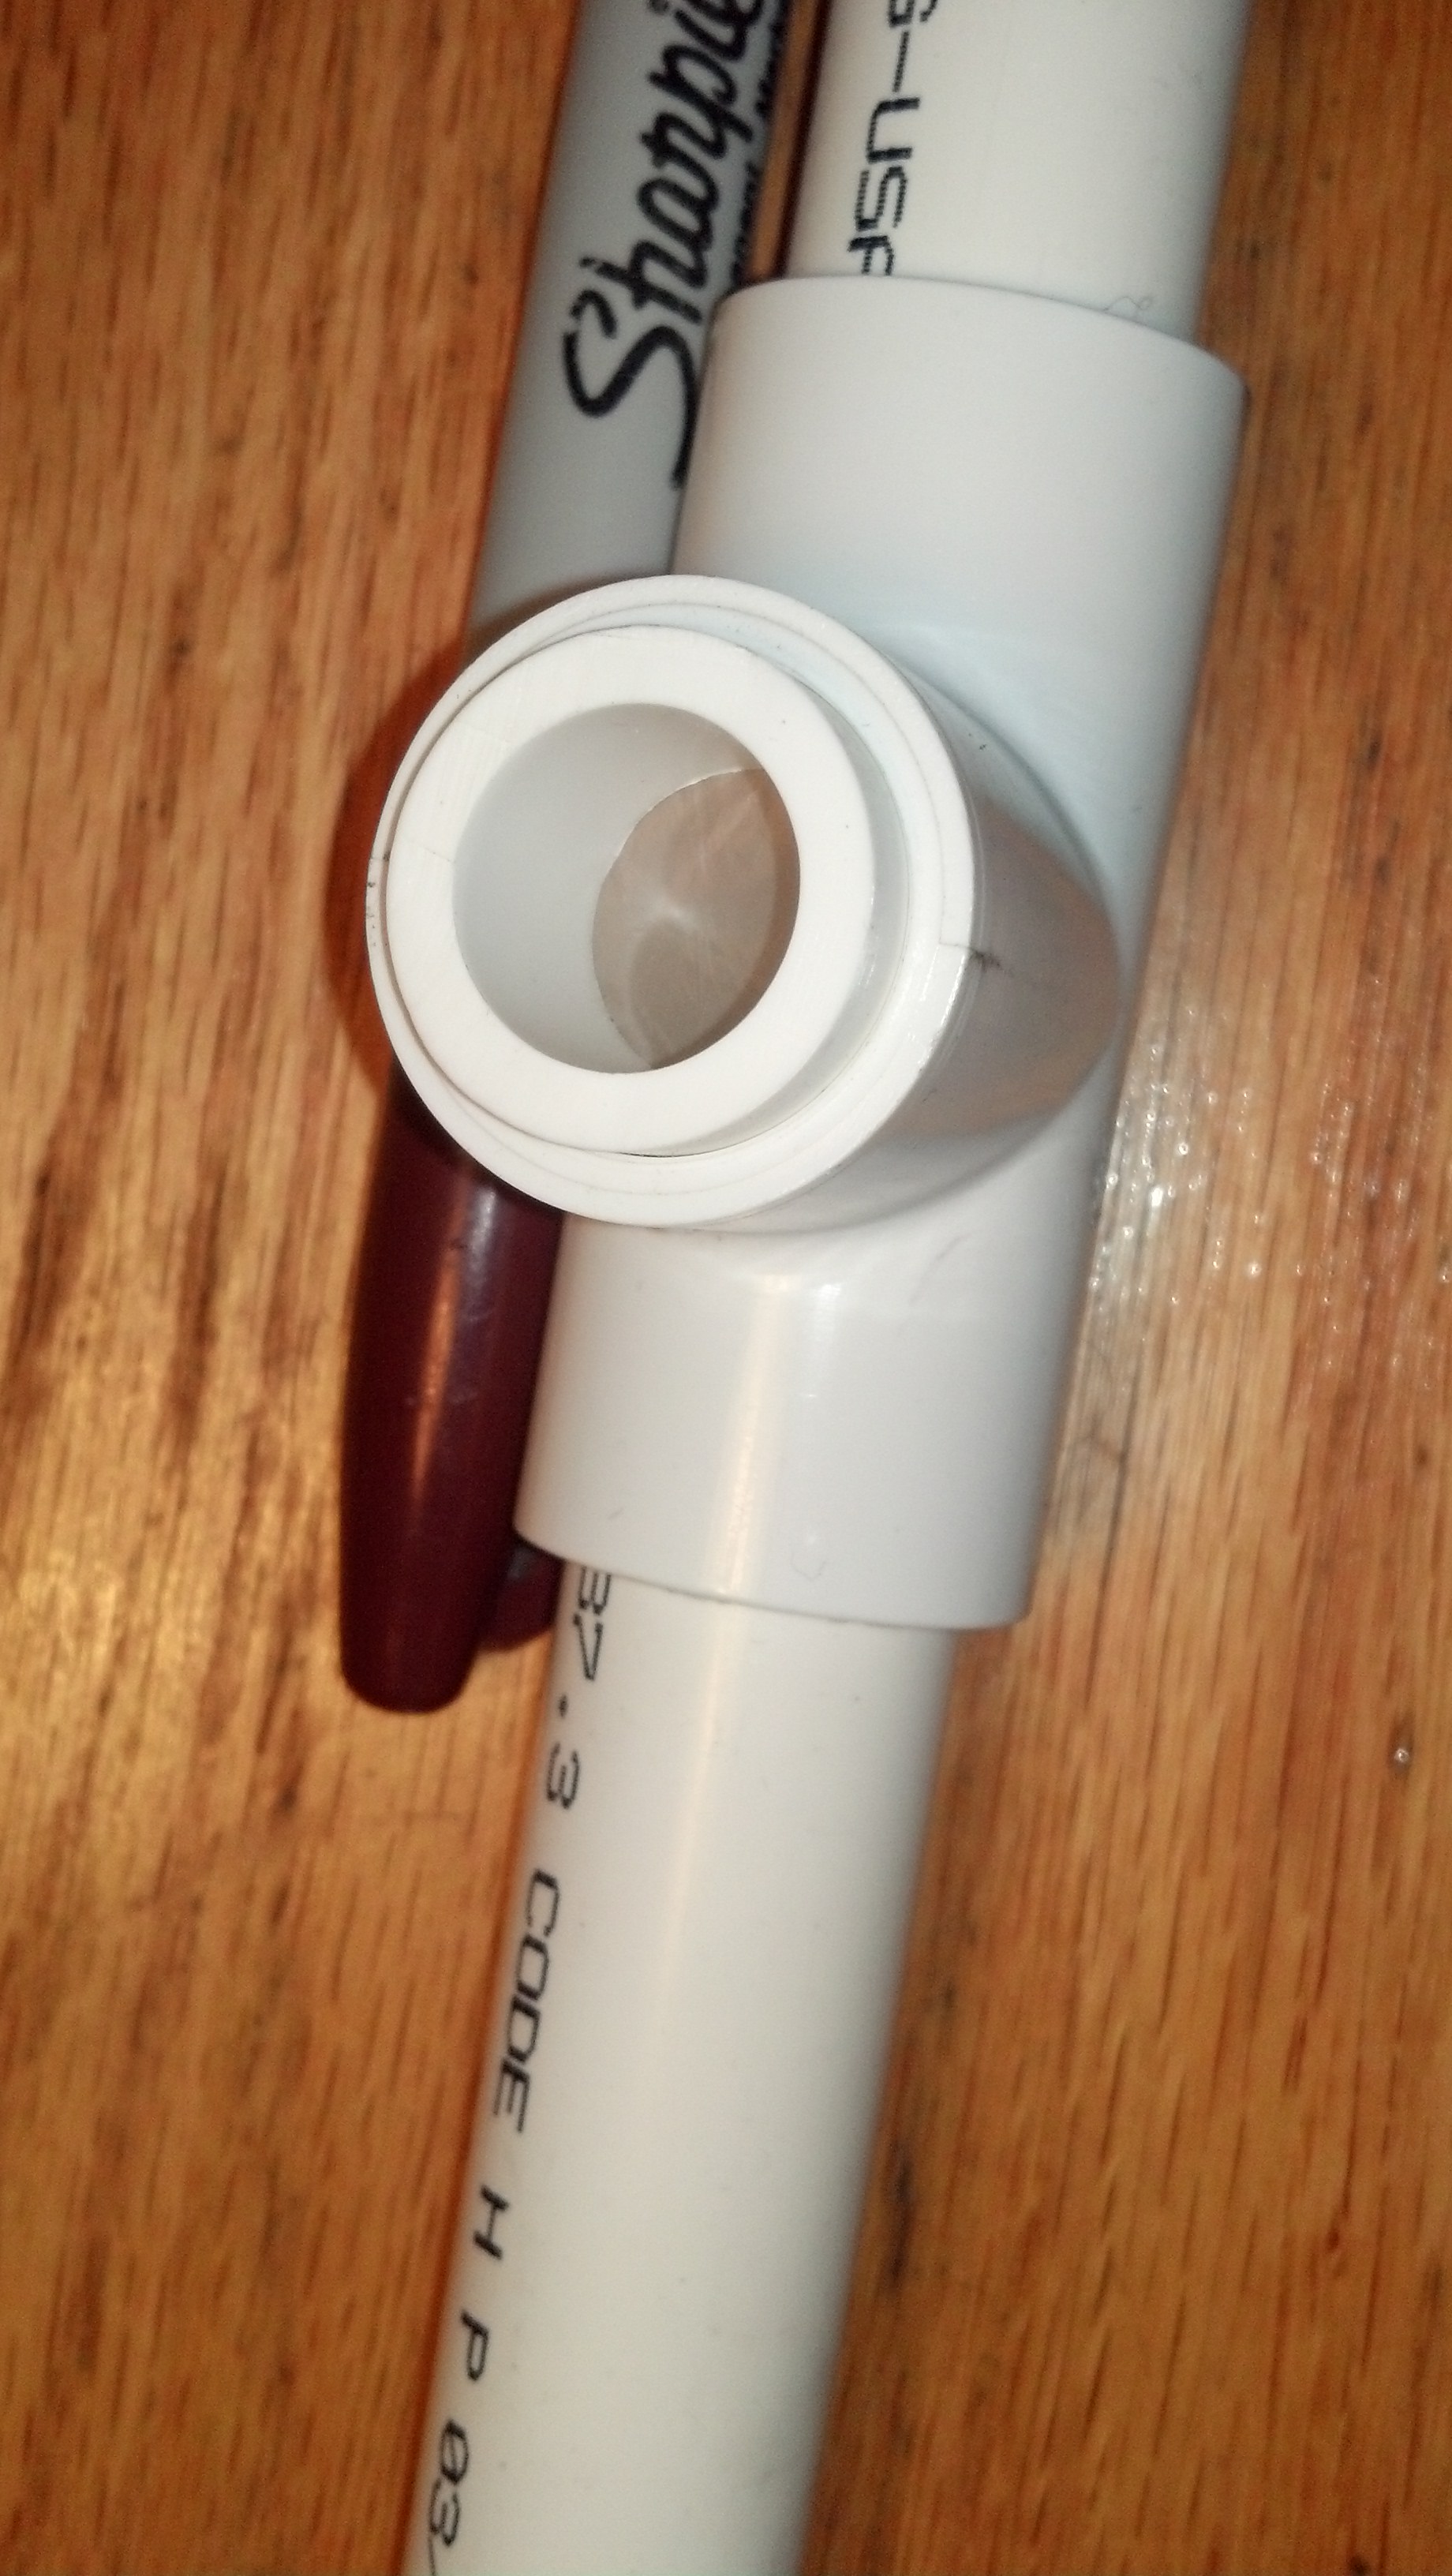
After we deburred the pipe, I used a small piece of PVC pipe to stretch and hold some plastic from a grocery bag, plugging the little end of the kazoo. Here’s how it sounds.
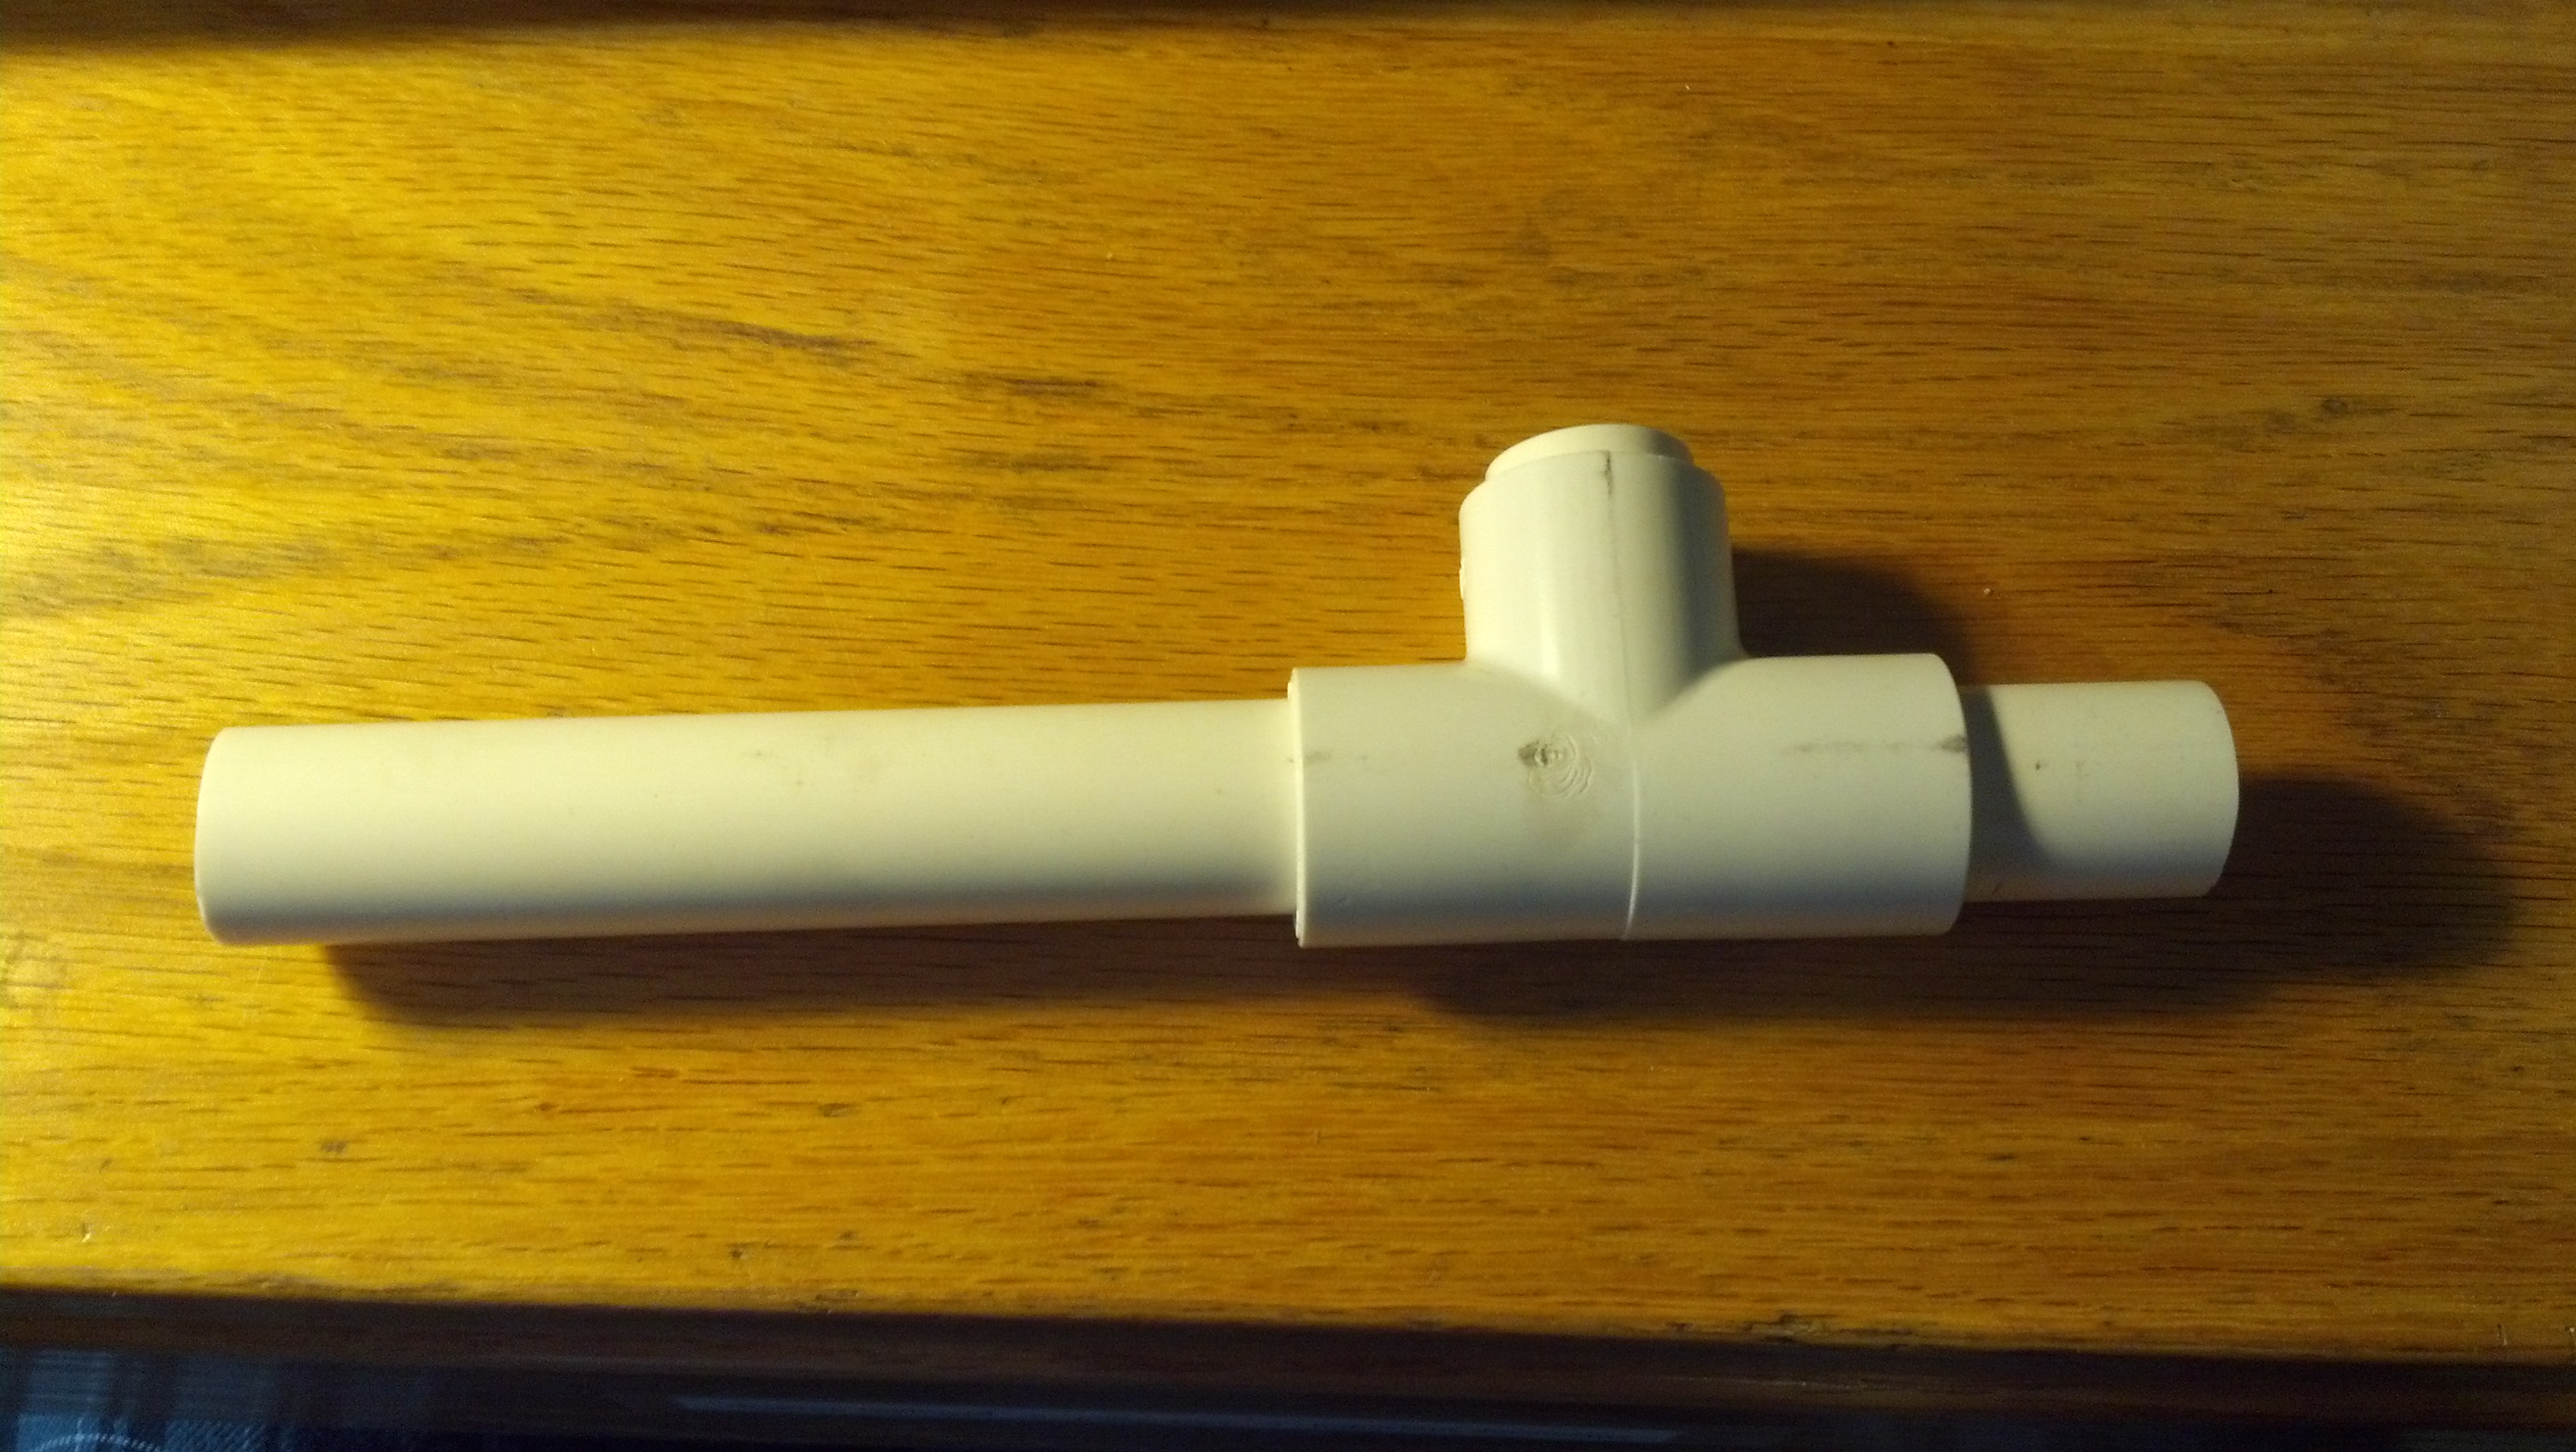
That said, it’s even easier to make a kazoo with some PVC tubing. All you need is a T joint, about a foot of PVC, a PVC cutter, and a plastic grocery bag. I made a couple of these in high school and found 1/2″ ID makes the best sound.
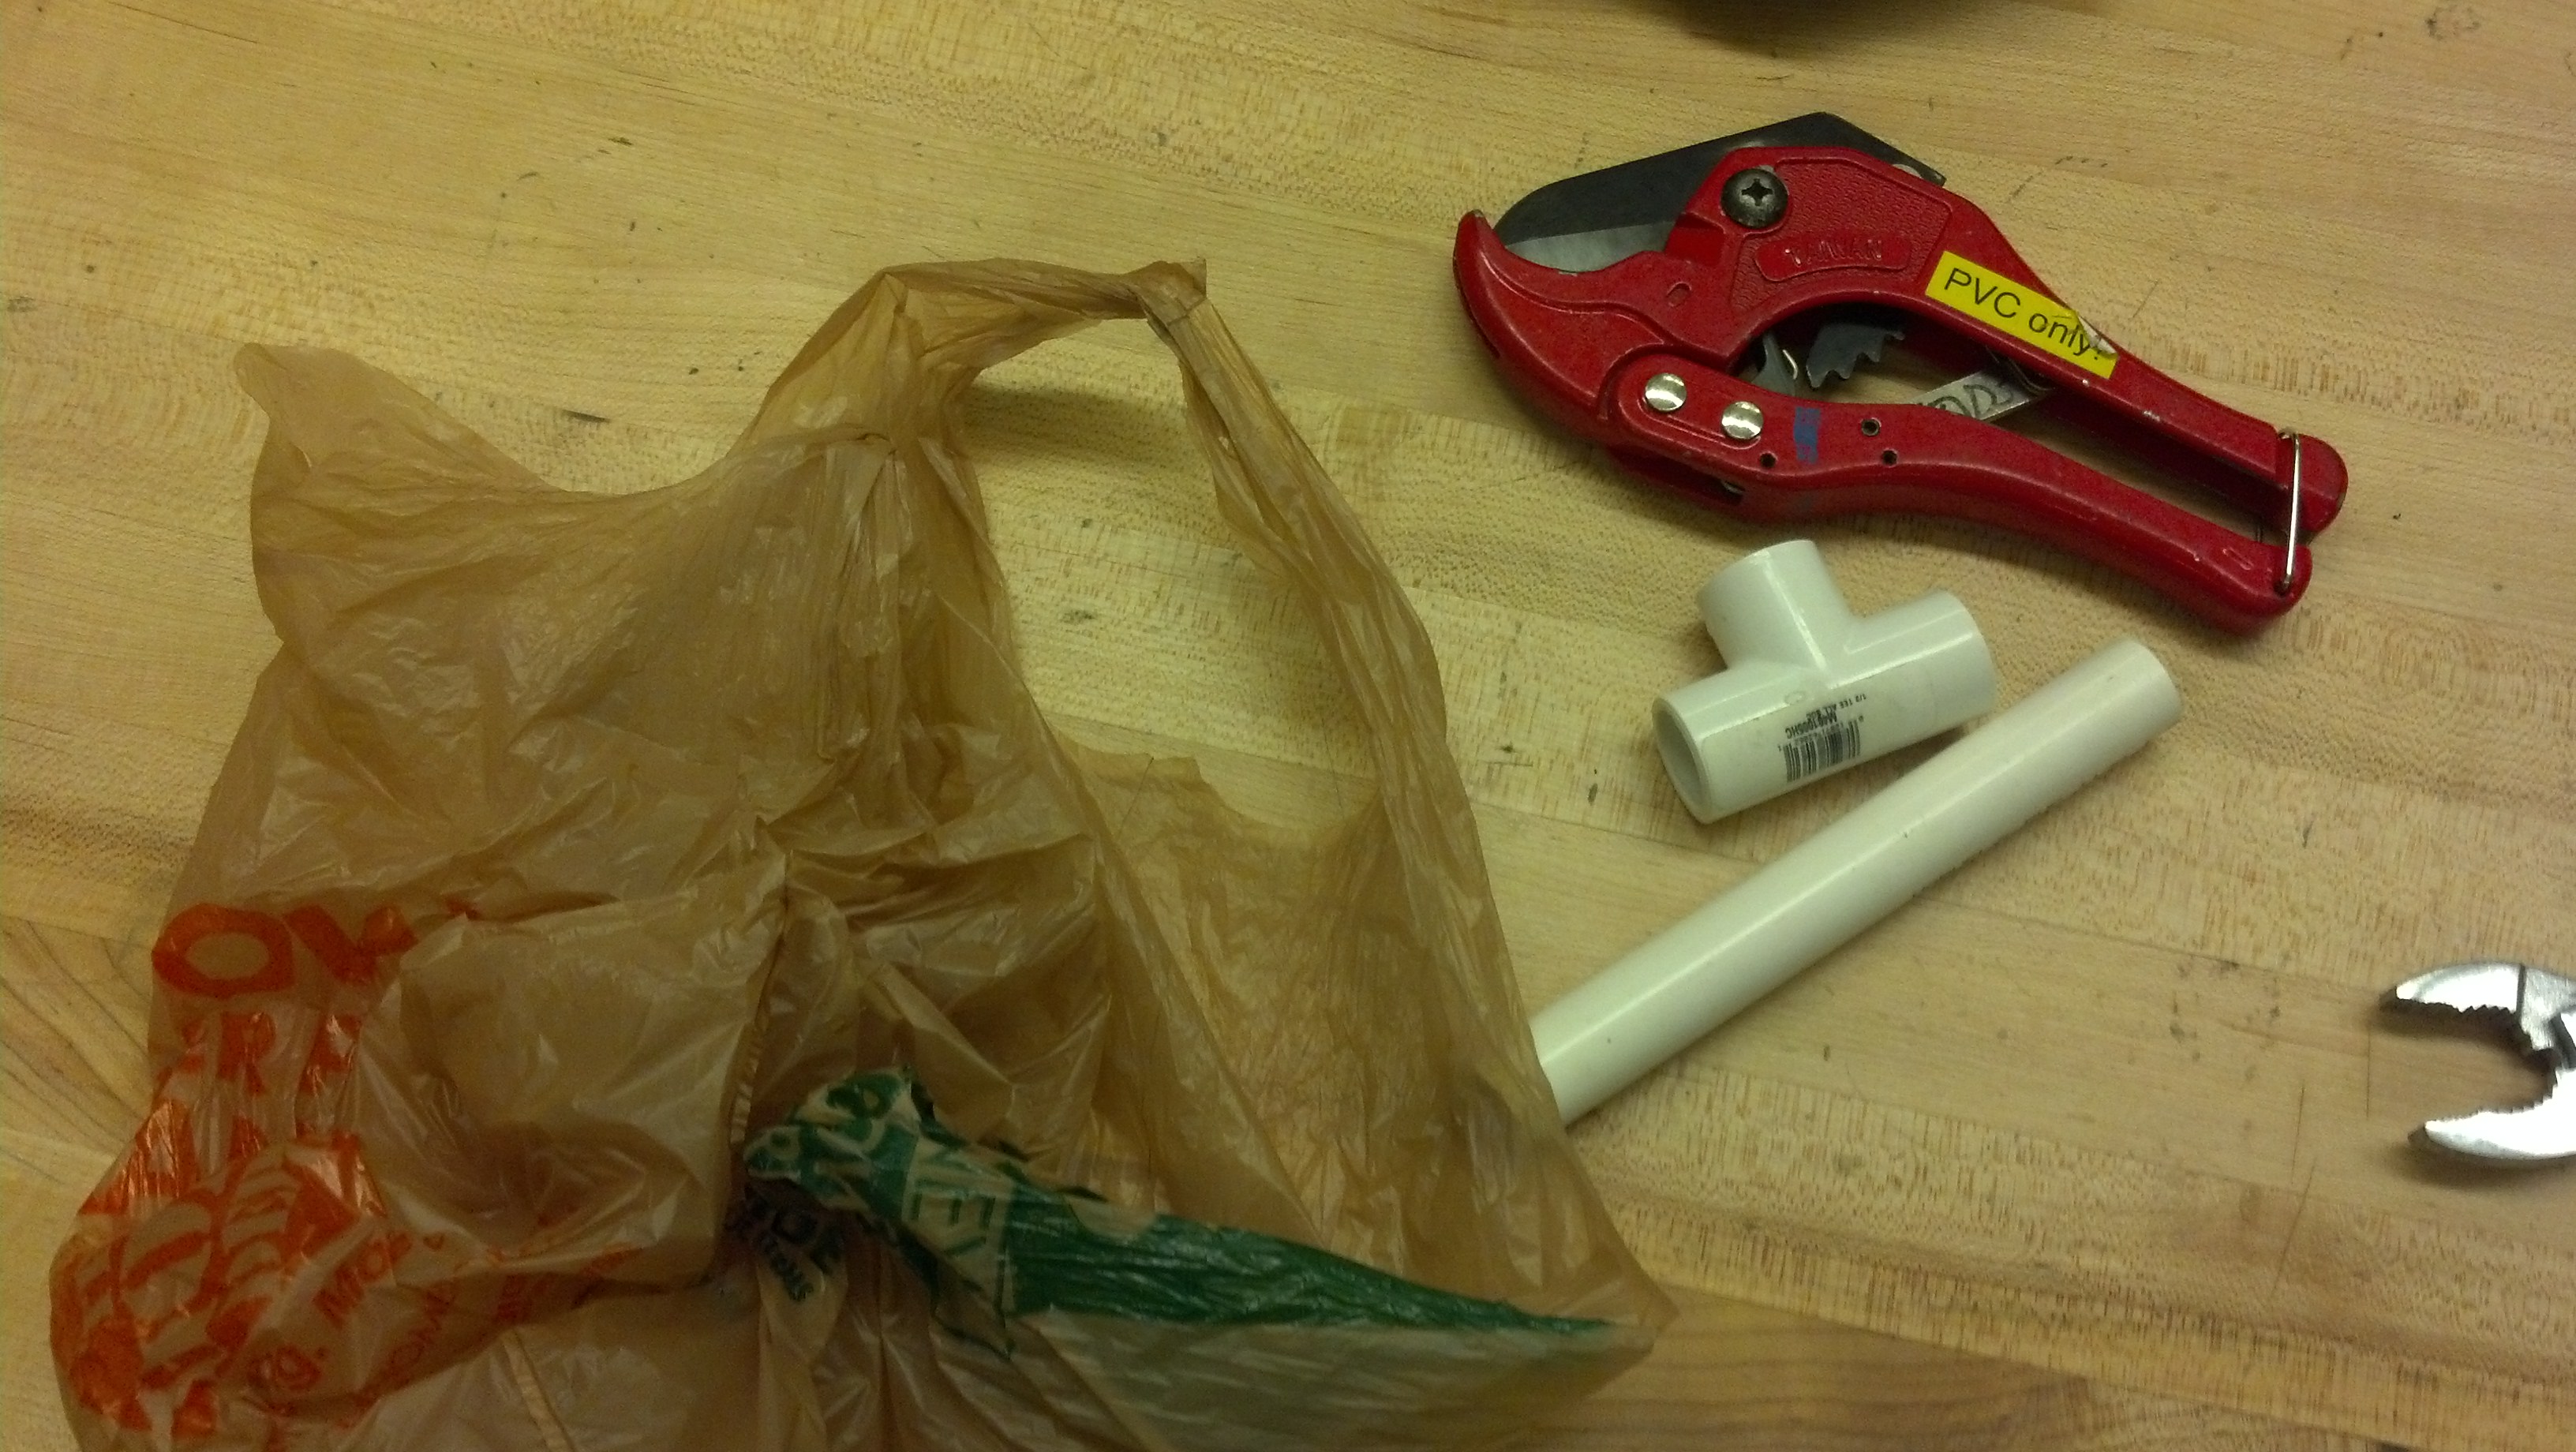
This is all you need for the world’s most annoying instrument.
Then, you cut the PVC to appropriate length and cut out a square of grocery bag, plugging it into the middle hole of the T joint. These are also fun to decorate.
Play around with the tightness of the grocery bag, but try not to rip it.
This one’s a little less industrial but it still quite loud.