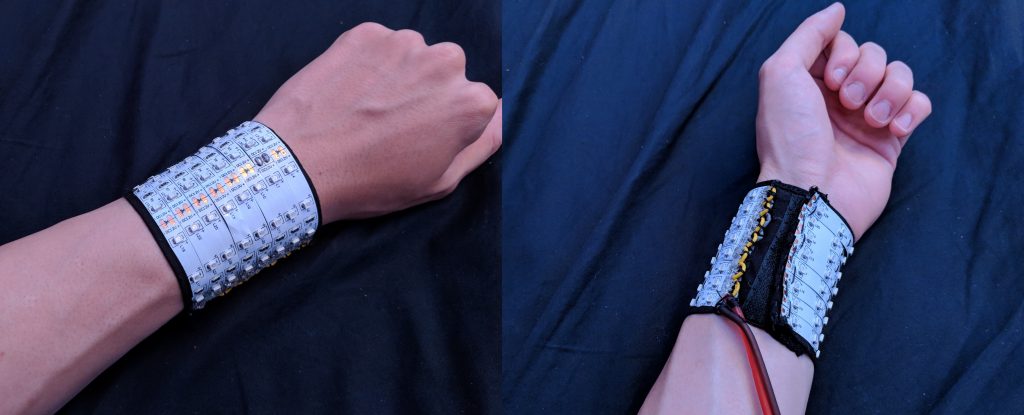
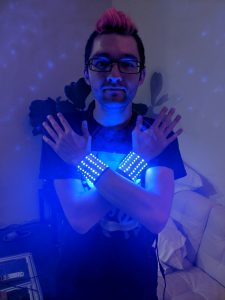
I’ve slowly been acquiring blacklight-reactive props, with the latest being a slinky I bought from Slinky Josh at Ignight. Disappointed that everywhere in the world isn’t flooded with blacklight, I decided to take matters into my own hands–er, wrists. I present my blacklight LED wristbands:
(I’m just an amateur slinky and contact ball, but I hope you like the effect)
Overview
Here’s a diagram of the parts in this build.
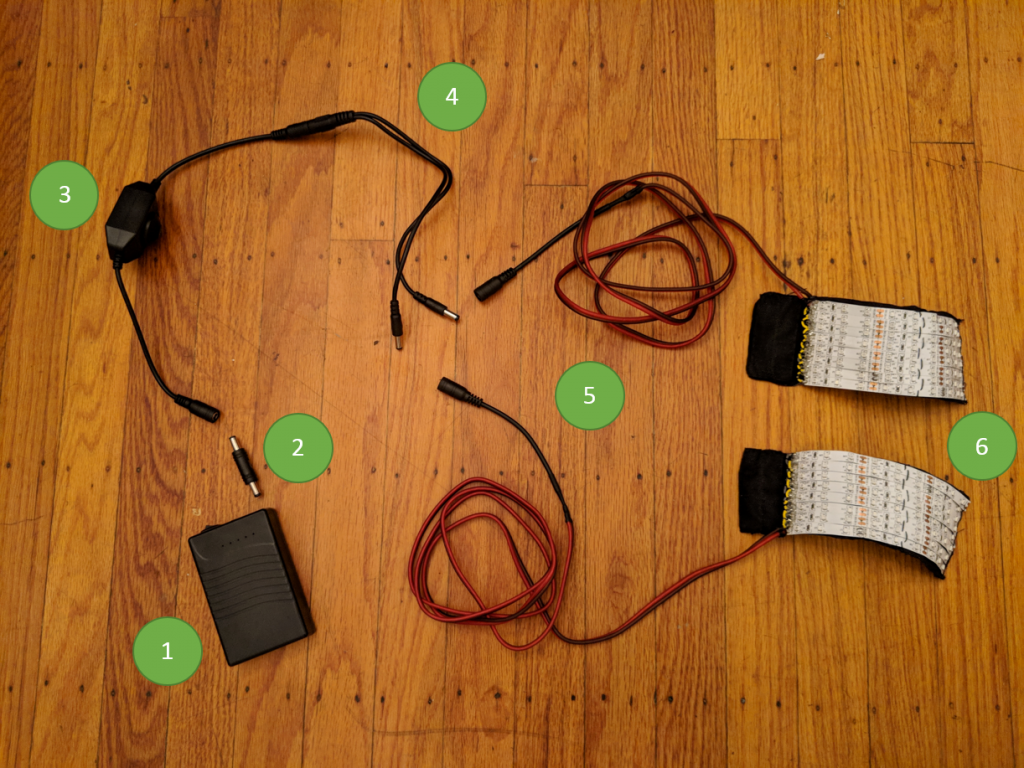
This setup includes (1) 12V battery pack, (2) male-male coupler, (3) 12V dimmer, (4) splitter, (5) wires long enough to go down my arms, and (6) wrist bands
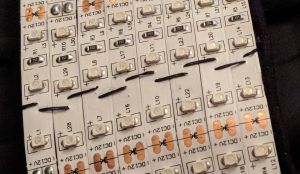
The LED strips are 12V blacklight LED strips, with 8 strips on each wristband. Each strip itself is composed of segments, where each segment has 3 LEDs and a resistor in series. I found 3 segments was a good circumference to wrap around my wrists, so in total each wristband had 72 LEDs. Before buying the battery, I hooked up my LED strips to a voltage source and found that the draw for that many LEDs would be about 850mA.
For the battery, I found a USB battery pack that had a 12V output. I liked the option of using a USB battery pack rather than using a hobby lipo because I feel like USB battery packs look less sketchy to security if I want to take these into a club or something.
Materials
If you want to build your own, here are the materials I used.
- blacklight led strip (link)
- 12V dimmer (link)
- battery (link)
- splitter (mine came with the battery)
- power connectors (link)
- male-male coupler (link) (or you can make your own from the connectors)
- speaker cable
- hookup wire
- rectangle of fabric
- sew-on velcro (picked some up from Mendel’s)
- thread, solder, hot glue
Assembly
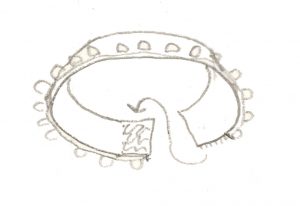
This sketch shows the LEDs on one side and matching pieces of velcro on either end. The fabric extends beyond the LED strip on one end, which is the end where I put the scratchy velcro.
First, I cut out rectangles of fabric wide for the number of LED strips I wanted and long enough to wrap around my wrist with a little extra for the velcro. Then, I hemmed the edge and then sewed on the velcro. This step took a while because I hand-sewed it, but it would be fast to machine sew.
Next, I stuck the LED strips to the fabric, loosely affixed with the adhesive on the back of the strips. I noticed that the LED strips had sections with copper on the sides but no copper running through the middle, so I took advantage of this and sewed straight through the LED strip.
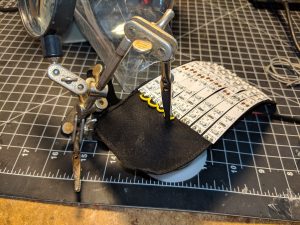
Next, I soldered together all the strips using short pieces of wire to connect all the ground pads and all the 12V pads. Besides the hand sewing, this step took the second longest, partially because it was hard to pin everything down. If I were making a lot of these, it might be worth it to make a tiny PCB with connected ground and 12V pads that just acts as a backing to solder the strips to.
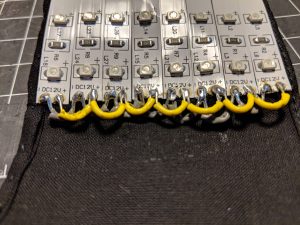
The strips are soldered together in parallel here, with all the 12V pads together and all the ground pads together.
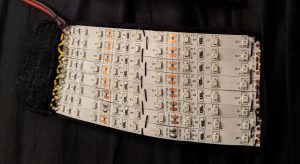
Anyway, after soldering everything, I used some thread to secure the wires to the fabric, and then I coated all the connections in hot glue, to cover the exposed copper and for strain relief. I also soldered on the long wires and female power connectors.
