In preparation for the festival season last year, I built a swamp cooler! Swamp coolers, also called evaporative coolers, are air conditioners that work without a compressor; they simply cool air by passing it across some water. I think they’re popular for desert camping events because they’re easy to build yourself (no refrigerant or compression) and because they don’t require much power to run (only a fan and a pump in my build).
So evaporative cooling is really fascinating. You’re probably physically familiar with evaporative cooling as it relates to sweat, but, for reference, I will try to restate the model I learned in high school of how it works: when you have water on your skin and air blows across it, some of the highest energy particles in the liquid water collide with air particles at the interface of the water and air, and the air particles impart enough energy that the water particles are freed from the liquid state and enter the vapor state. The net effect for the liquid water is that there are fewer high energy particles in the liquid, and the temperature decreases because temperature is a measure of the average kinetic energy of a collection of particles. As a result, your skin feels cooler. The surprising thing about this process is that the air that passed over the liquid also decreases in temperature. This is because momentum from the air particles was transferred to the escaping water molecules; however, after the water molecules enter the vapor state, they are not as energetic as the air molecules were because some of the kinetic energy was used to oppose the cohesion of the water molecules in the body of liquid. The enthalpy of vaporization is the kinetic energy that was used.
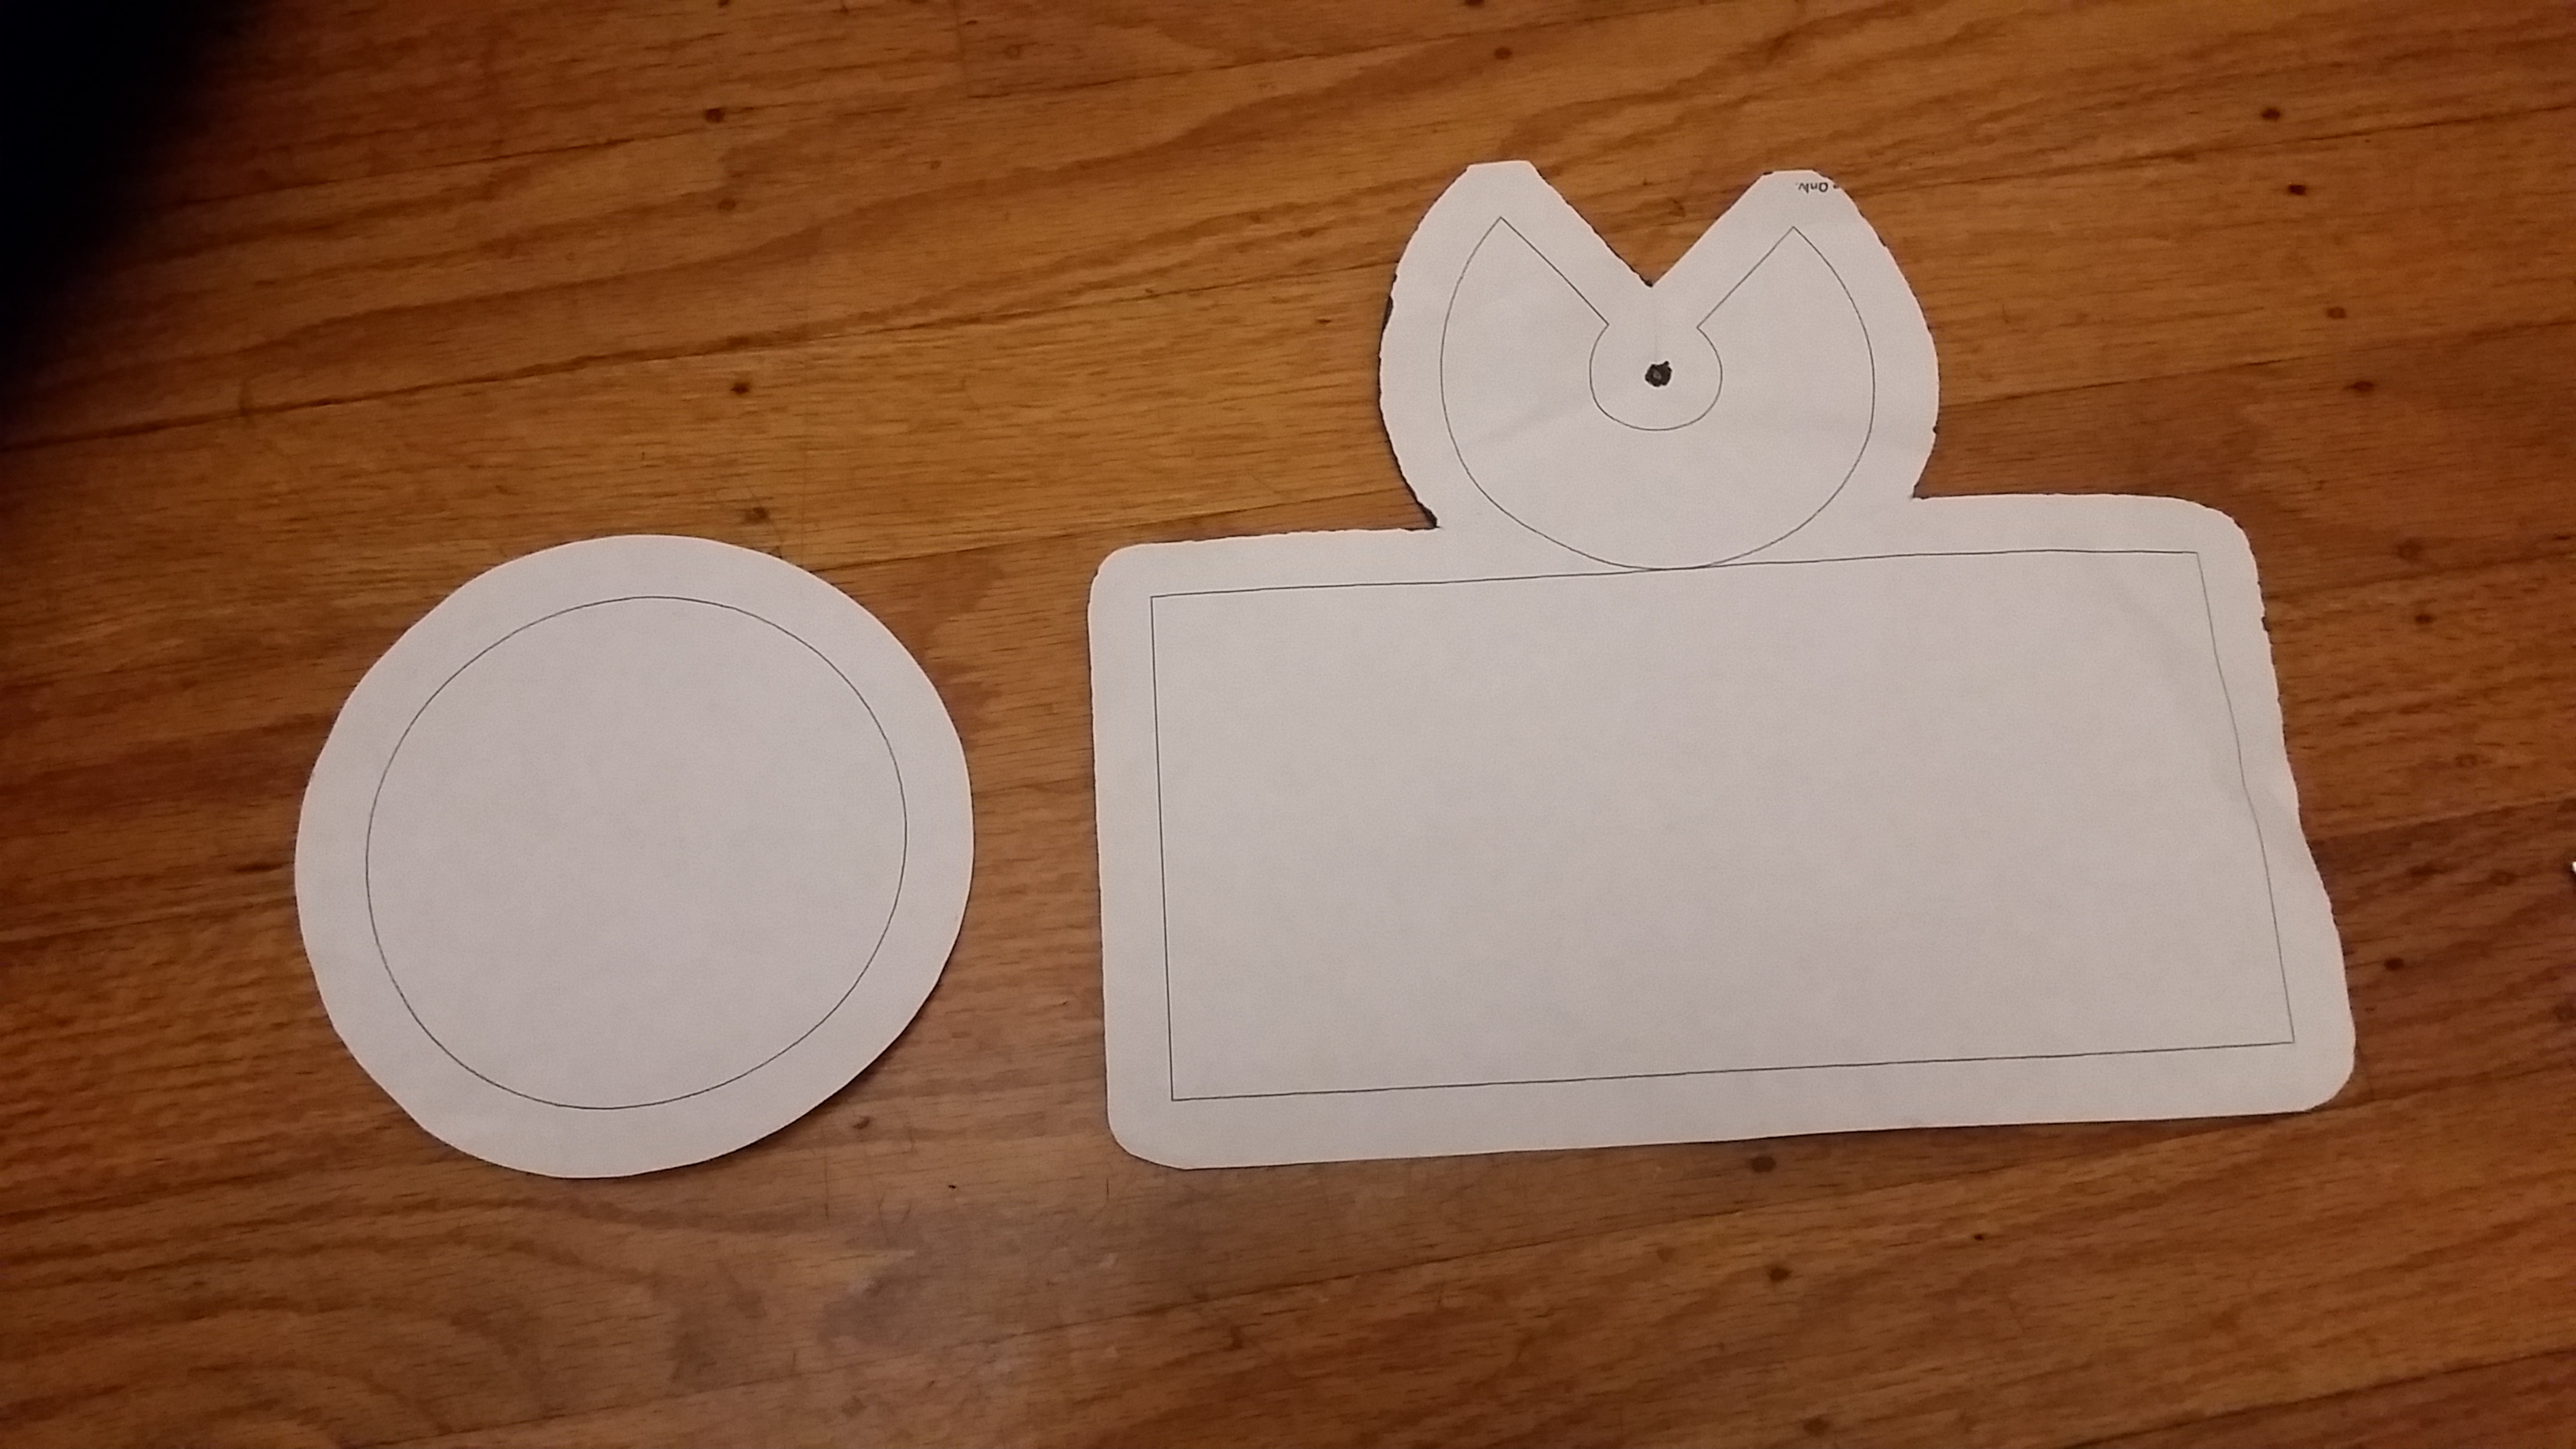
This same effect is used in a swamp cooler, but instead of a pool of water on skin, the water is usually soaked up into a foam pad, and then a fan is used to blow water through the holes in the pad. A swamp cooler may be surprising to someone familiar with a normal air conditioner because, unlike a normal air conditioner, where one side (sticking out the window) heats up and the other side (pointing in to the room) cools down, both the water in the swamp cooler and the air coming out of it get colder. Magical.
Anyway, I followed some of the guides you can find by searching for “5 gallon bucket swamp cooler”. I won’t go through all the build steps here, but here are some links to such guides.
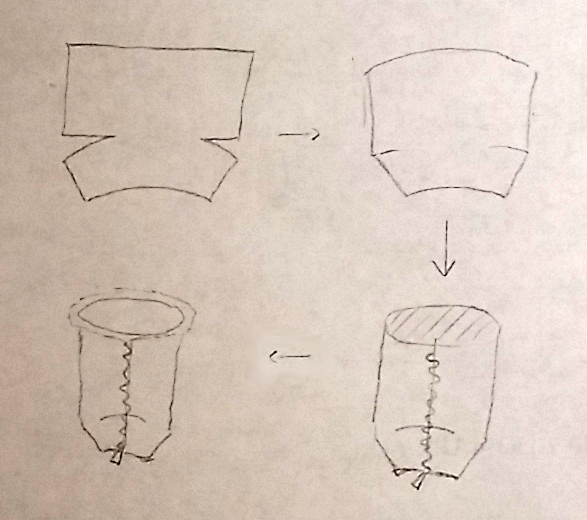
One thing I was confused by was the direction to orient the fan: whether air should get sucked in on the sides and blow out the top, or the reverse. There are guides online that show both ways. The answer is that the evaporative cooling effect works regardless of the direction the air flows, but, for convenience of directing the output into a tent, it’s better to blow out the top.
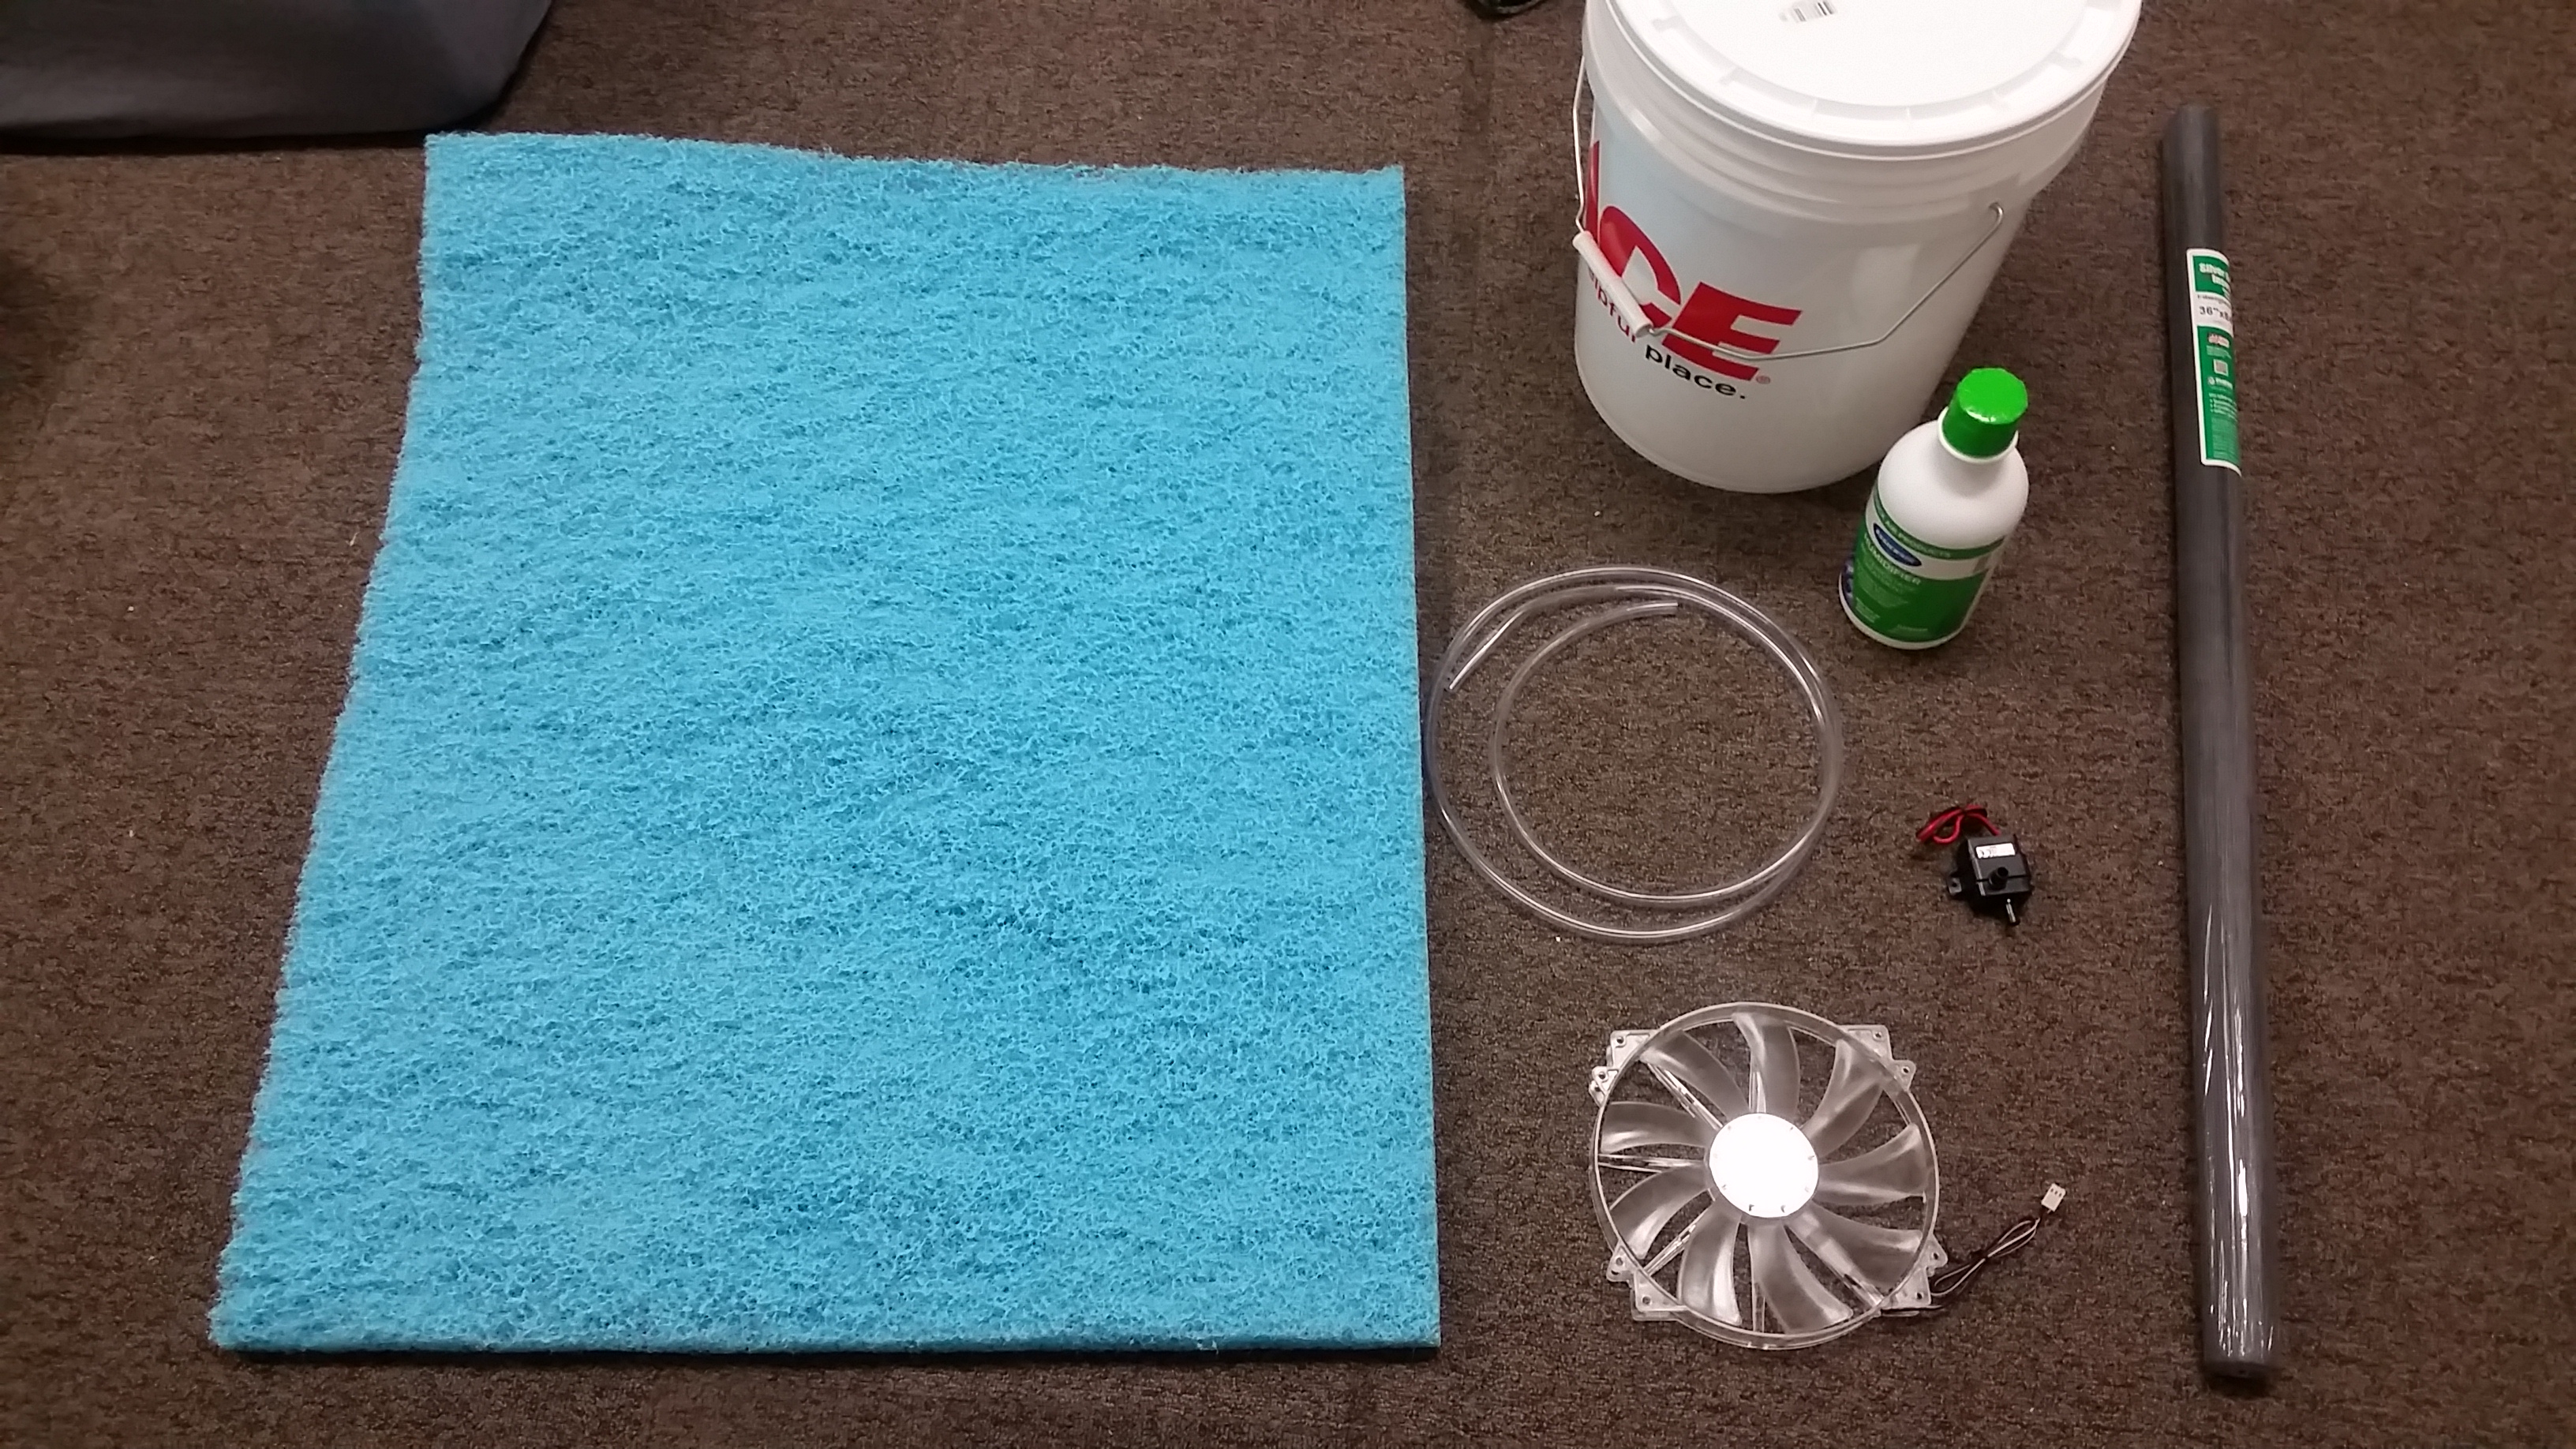
Materials
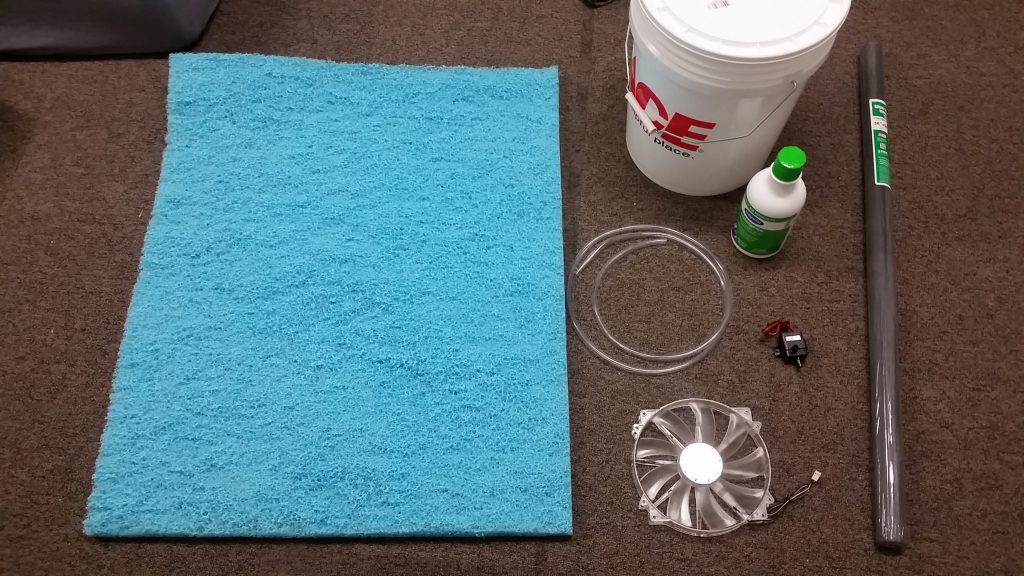
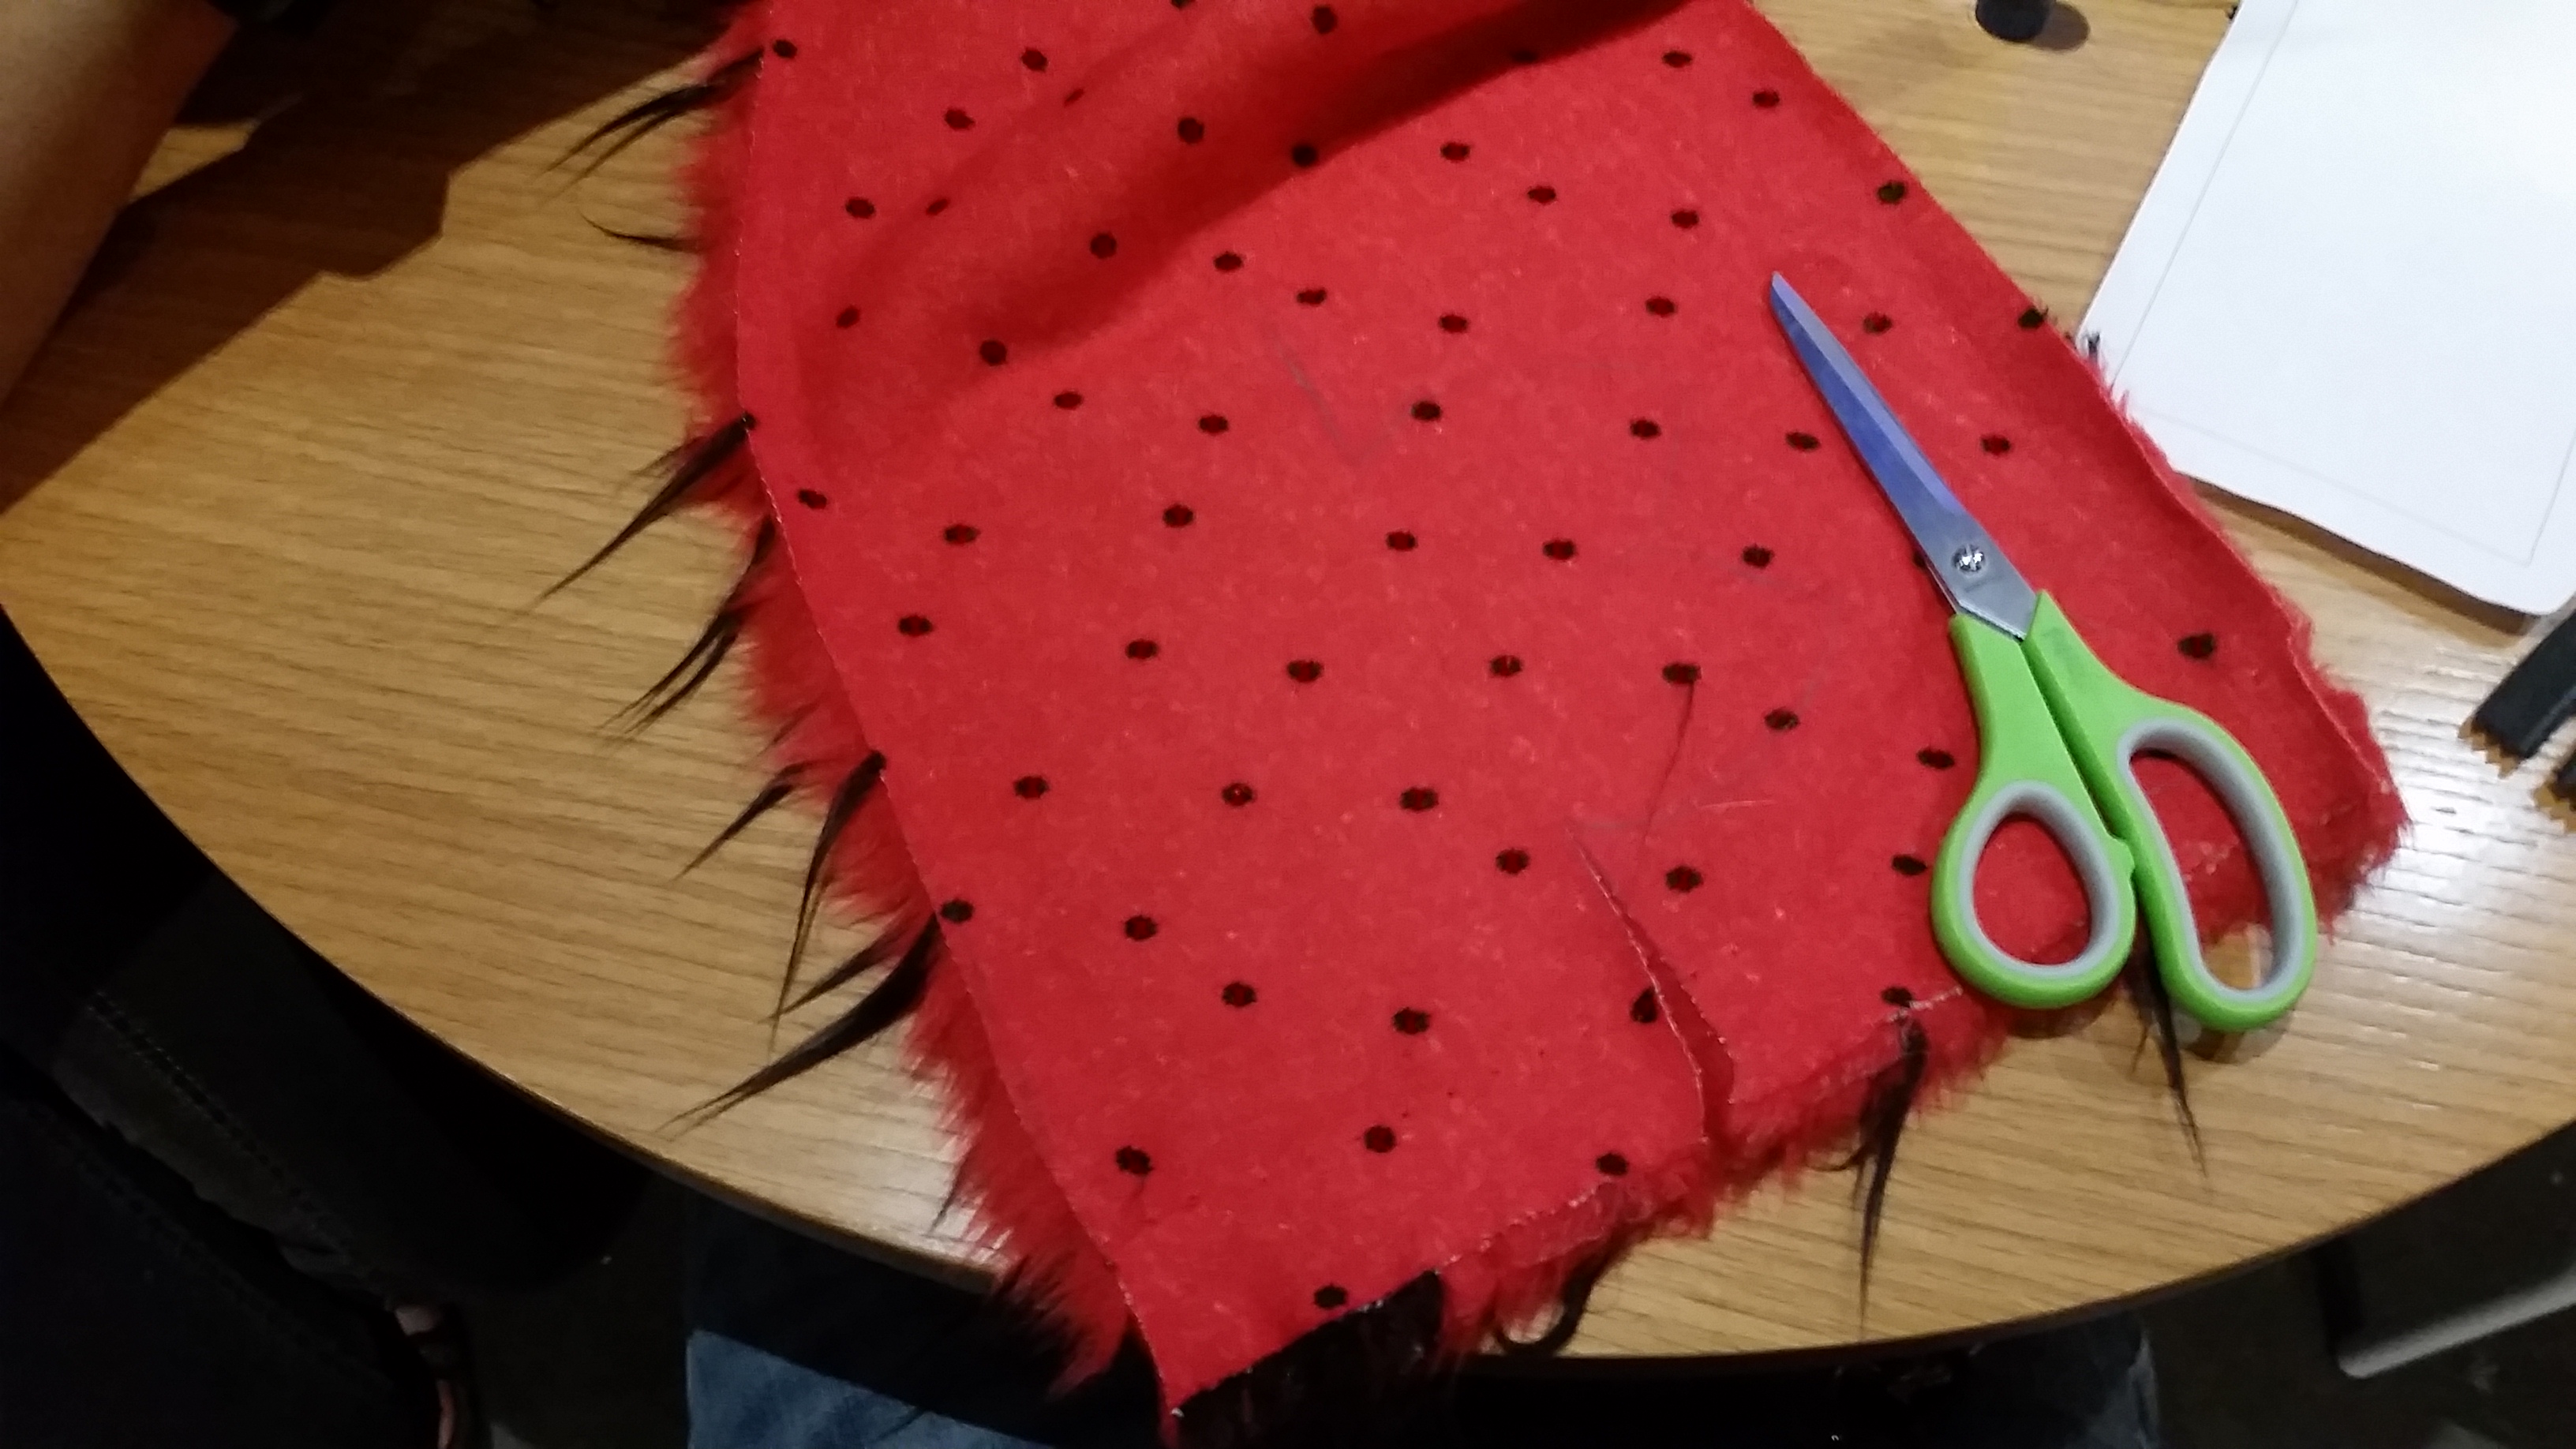
Here are materials I used to build the swamp cooler: evaporative pad, 5 gallon bucket, aquarium tubing, anti-bacterial juice, pump, fan, window mesh.
I found some of these materials a little hard to source in San Francisco, so here are links to each of the ones I used.
- Duracool evaporative pad: Cole Hardware has these on their website but not in their store, but you can order them and then pick up from the store. One of these is enough for two swamp coolers (or maybe one with doubled-up foam?)
- 5 gallon bucket and lid: most hardware stores will have these
- Anti-bacteria juice, from Amazon
- 12V aquarium pump, 2-pack from Amazon
- 12V big computer fan, from Amazon
- Aquarium tubing: obtained from an aquarium supply store
- Window mesh: most hardware stores will have this
As you can see, a lot of the items I found were in quantities of 2 or more, so if you’re interested in building one, it might be nice to find a friend who’s also interested.
I ran the cooler off a 12V lead acid battery or a 12V power supply. I also picked up some plastic dryer ducting to channel the air that comes out.
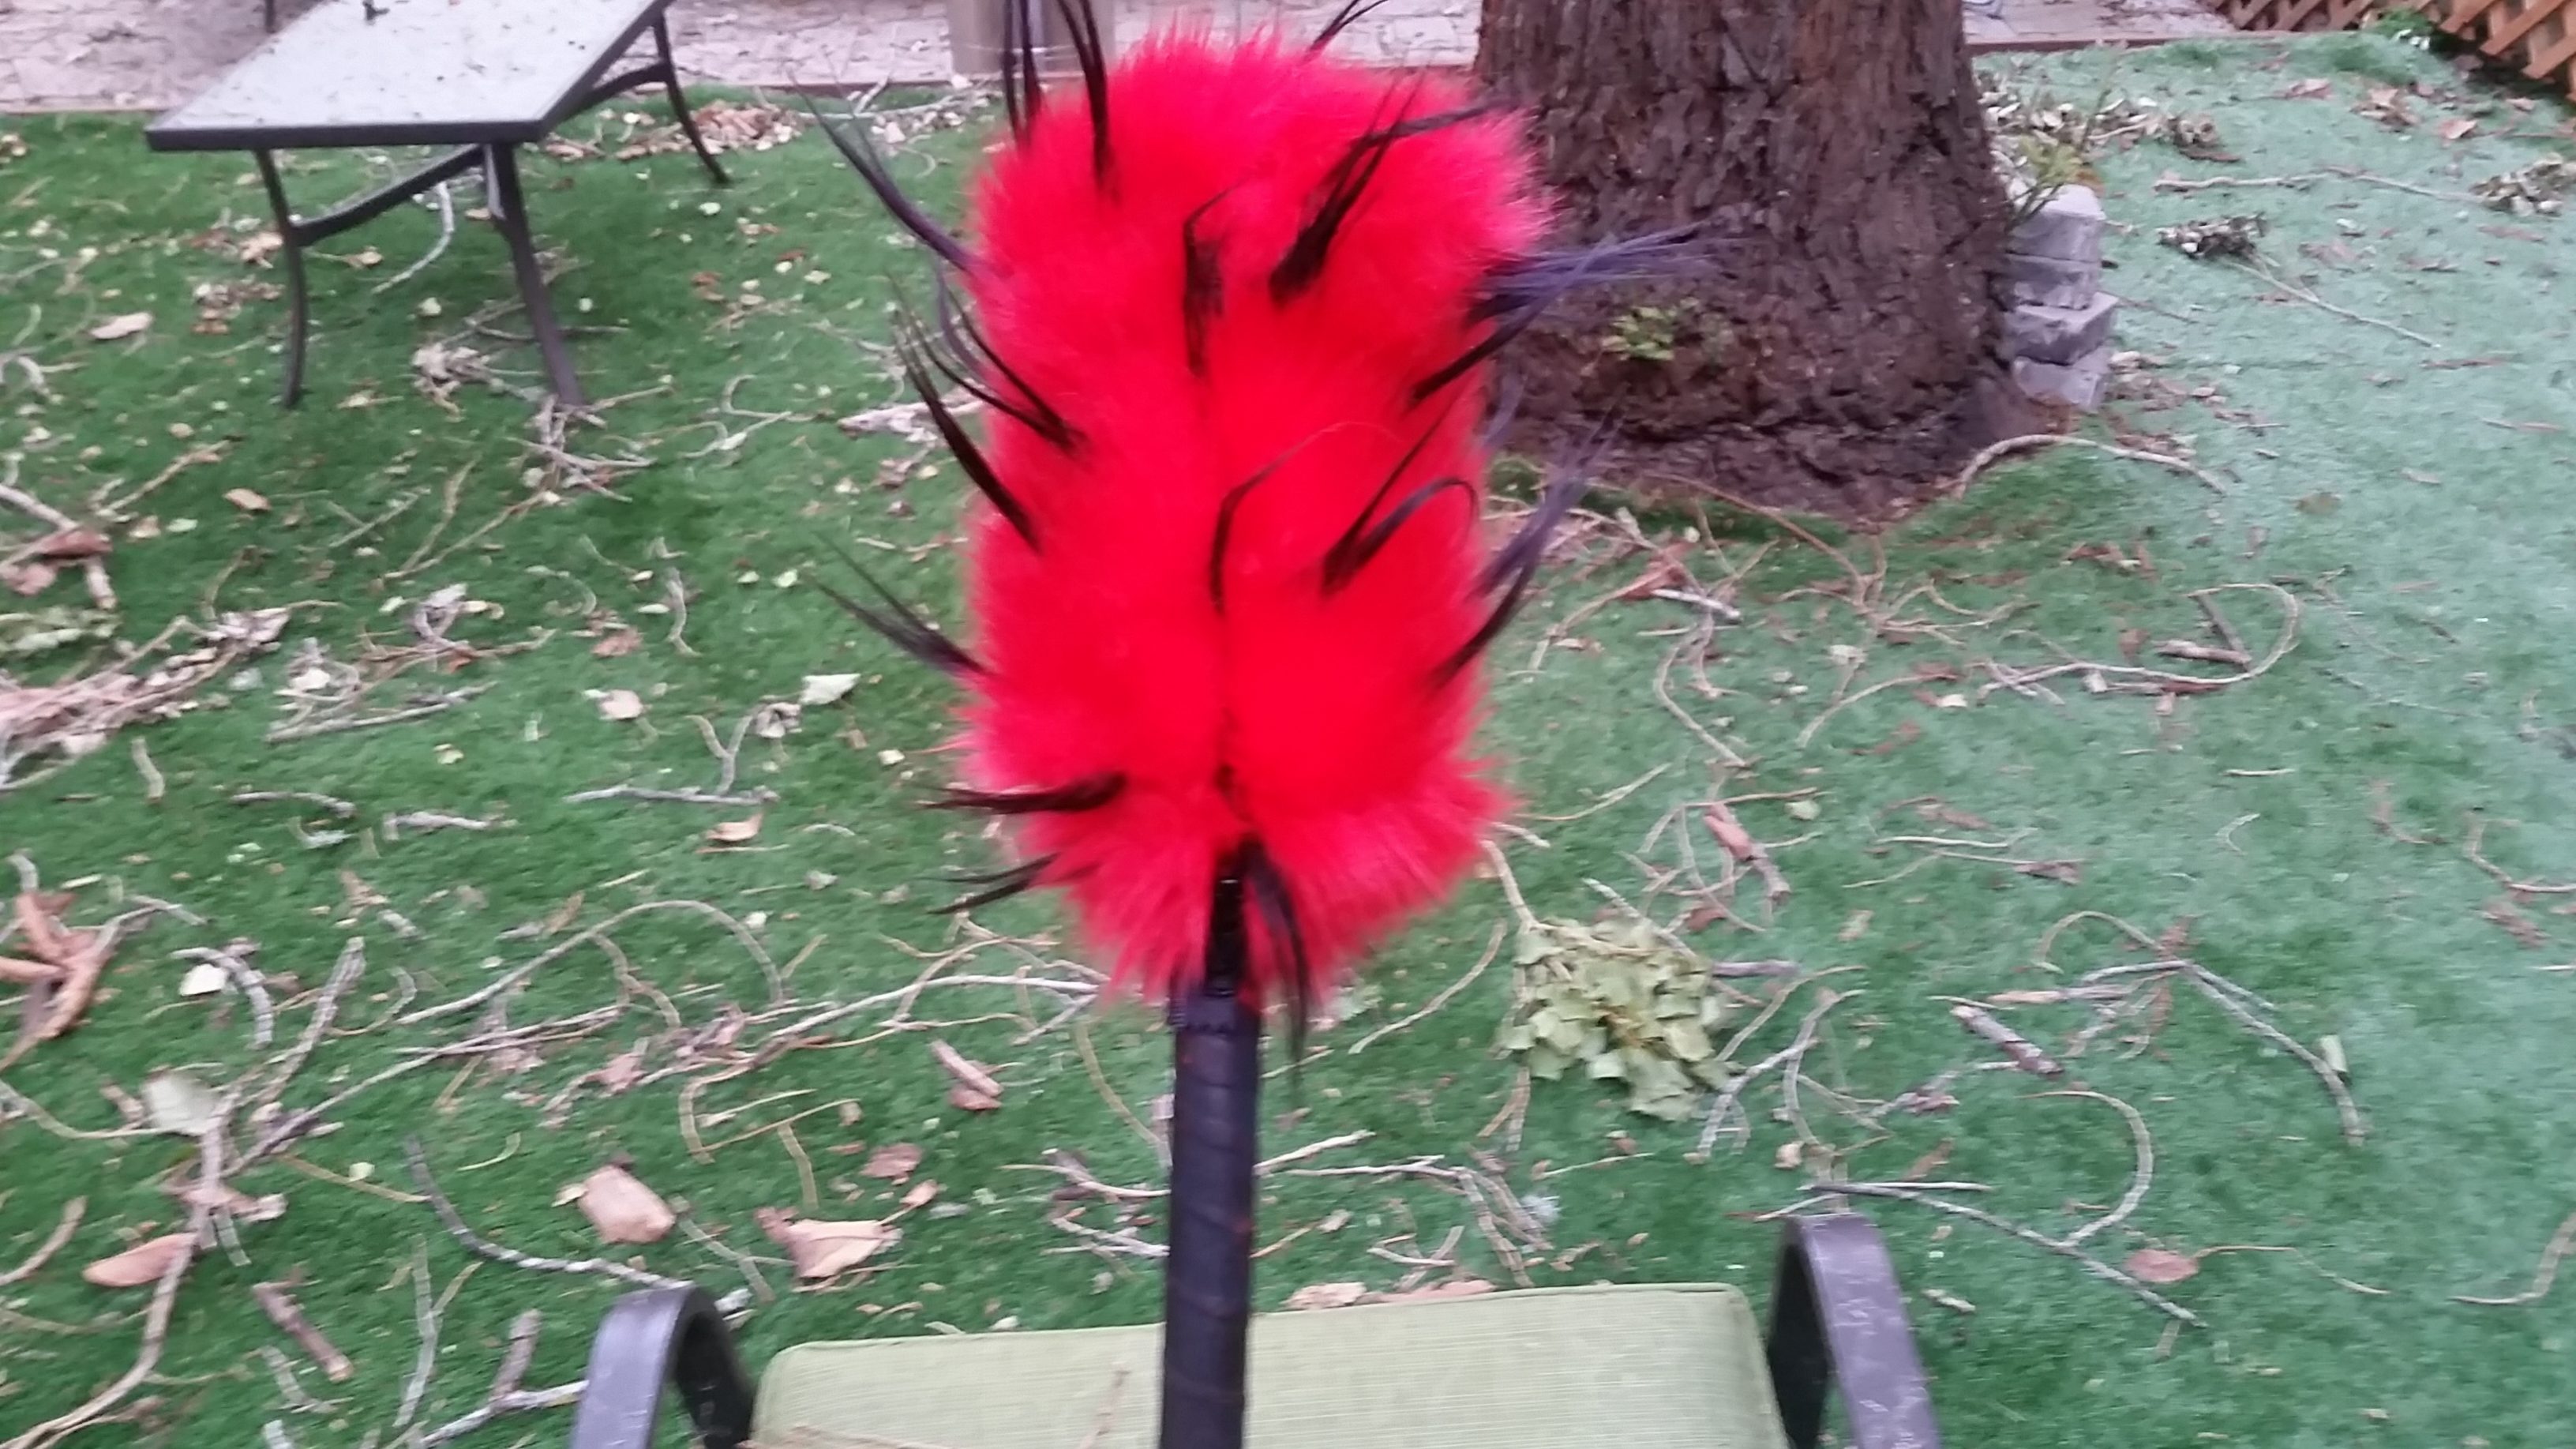
Result
And here’s the final result! I never actually got a chance to use it last year, but I’ll give it a try this summer.

The fan I used was a large computer fan with a blue LED, which I felt imparted an “icy” feeling.
After building this, I’ve also got some ideas for some improvements.
For one, the aquarium pump is really just used to move water from the bottom of the bucket up to the top to drip down the foam pad. I suspect you could put the reservoir above the foam pad and then, maybe with some creativity in a valve for the drip rate, let the water simply drip down the pad.
It would also be nice to have independent switches for the fan and pump: sometimes I just wanted to run the pump, to see if any water was dripping out, sometimes I wanted to run the fan, to dry out the foam before putting it away.
Finally, I think it would be worthwhile to build this device out of some kind of telescoping bucket; right now it takes up a lot of volume, but it’s mostly empty space.