I recently completely encircled my room with LED strips; in this post, I’ll outline how I set everything up.
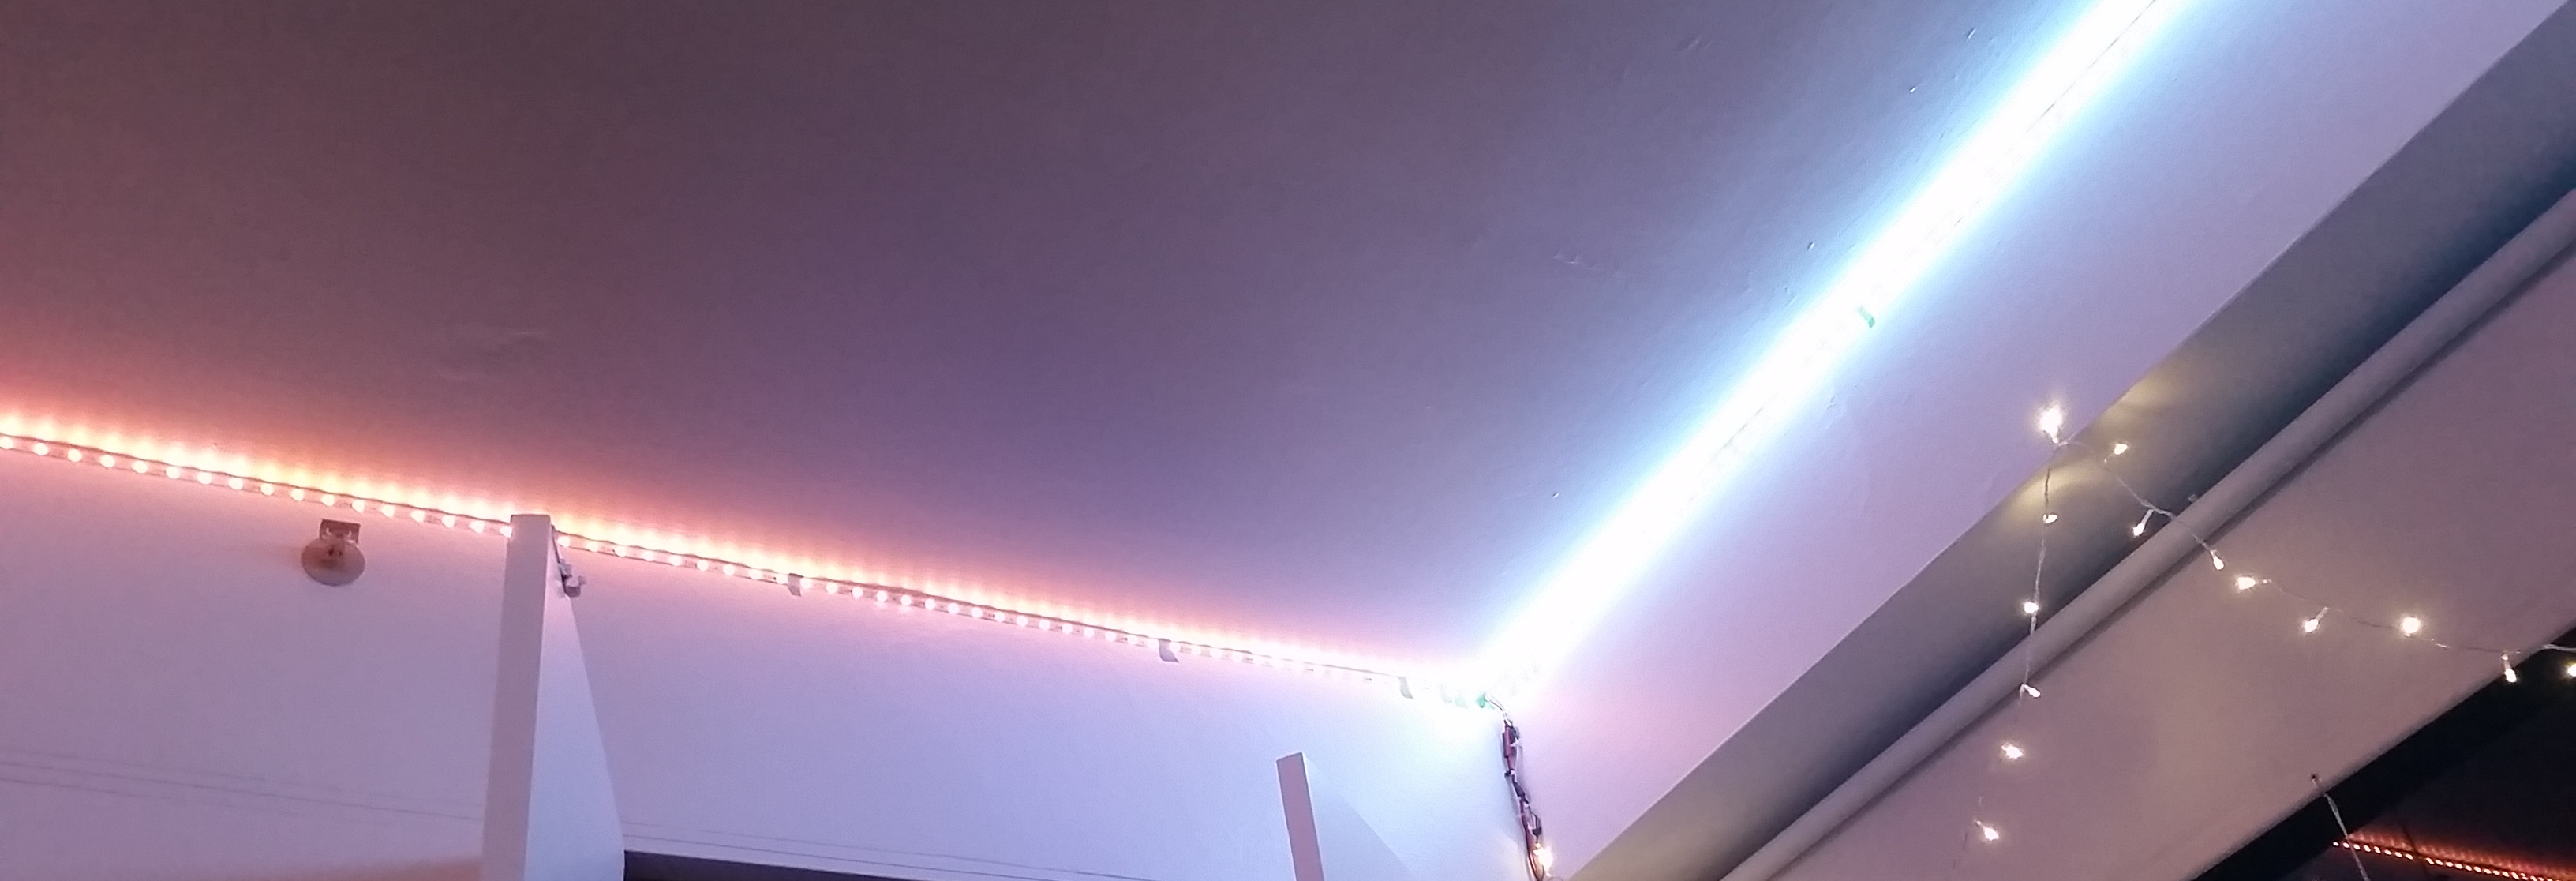
Here’s a panorama of the LED strip that forms a full loop around my room. The rainbow effect is a result of the entire strip fading through several colors in the time that it took to take the panorama. However, this strip is also addressable in triplets.
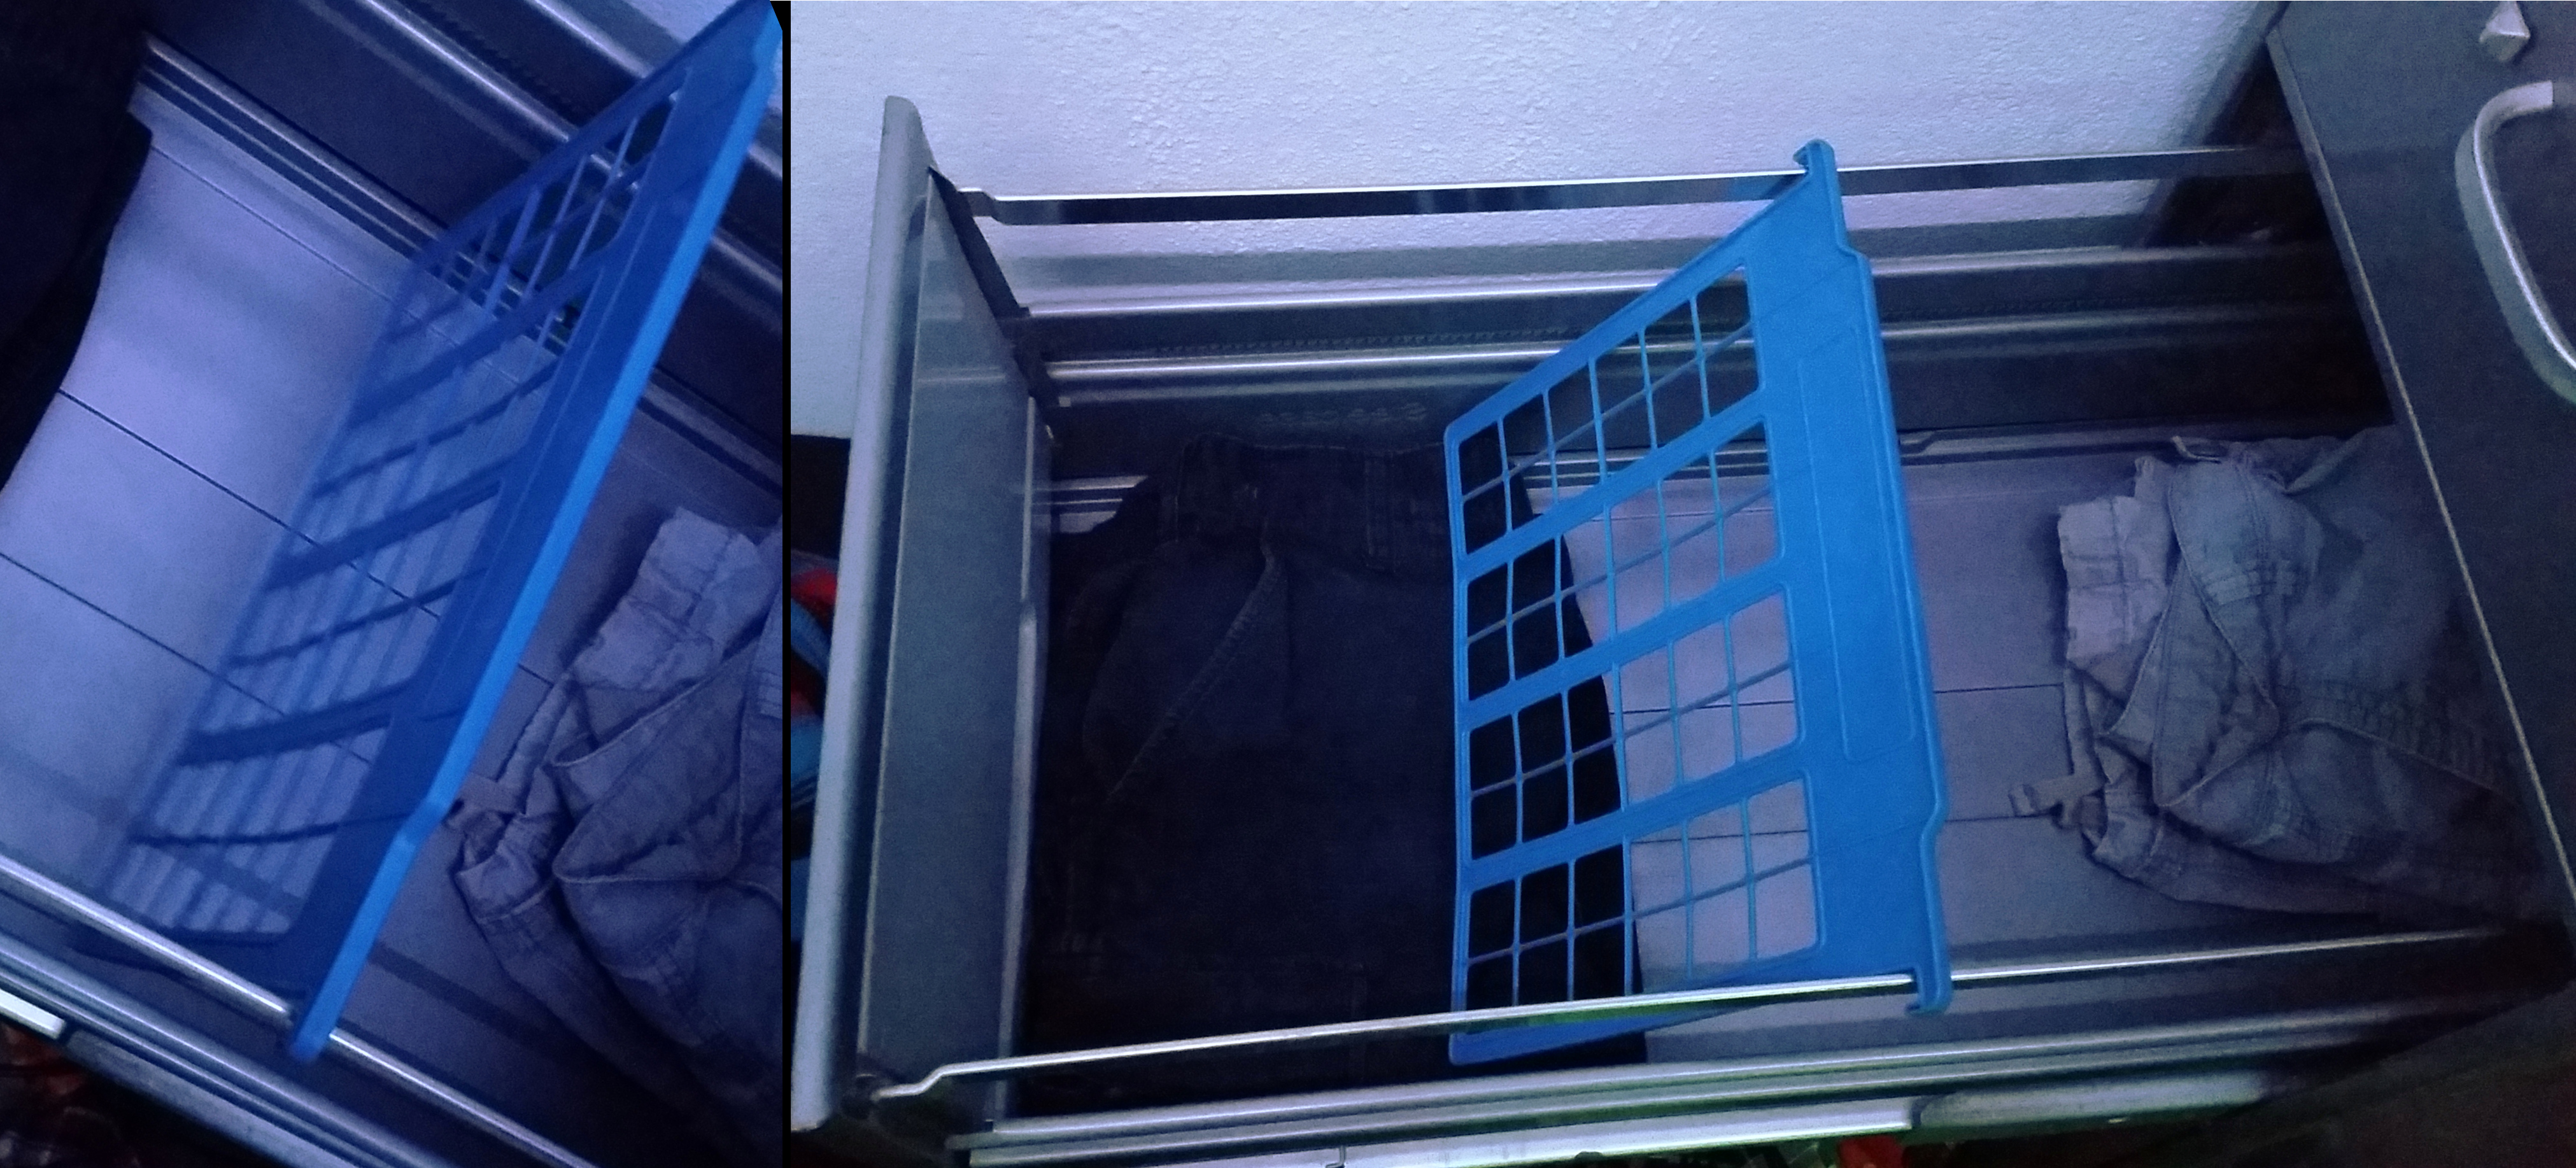
First of all, I used some low-LED-count strips with WS2811 driver chips, addressable in groups of 3 LEDs. Nowadays, you can buy very LED-dense strips that are truly individually addressable, but I knew that the triplet-addressable format was common a few years ago and conjectured that there would still be a few of these strips for sale on the cheap as manufacturers tried to sell off their remaining supply. I was right! I bought 16 feet of LED strip and ended up using most of it. I used the rest to illuminate my closet, which I’ll describe in a later post.
First, I set up the electronics, largely based on Adafruit’s guide here. The electronics consisted of a single several-meter LED strip, a 12V power supply, and a Raspberry Pi to control the strip. The Pi uses 3.3V logic levels while the WS2811 drivers on the strip use 5v to 12V, so I integrated a level shifter (the 74AHCT125) into the cable between the Pi and the strip, as shown below. I got a 12V power supply from re-use.
Check out my dead bug soldering.
After I set up the electronics, I mounted the strip to my wall. I was hoping to be able to use the adhesive backing on the strip, but it proved woefully ineffective, falling down after a couple hours. So, I temporarily reinforced the strip with masking tape and then developed some mounts to hold down the strips, as can be seen in the following pictures.
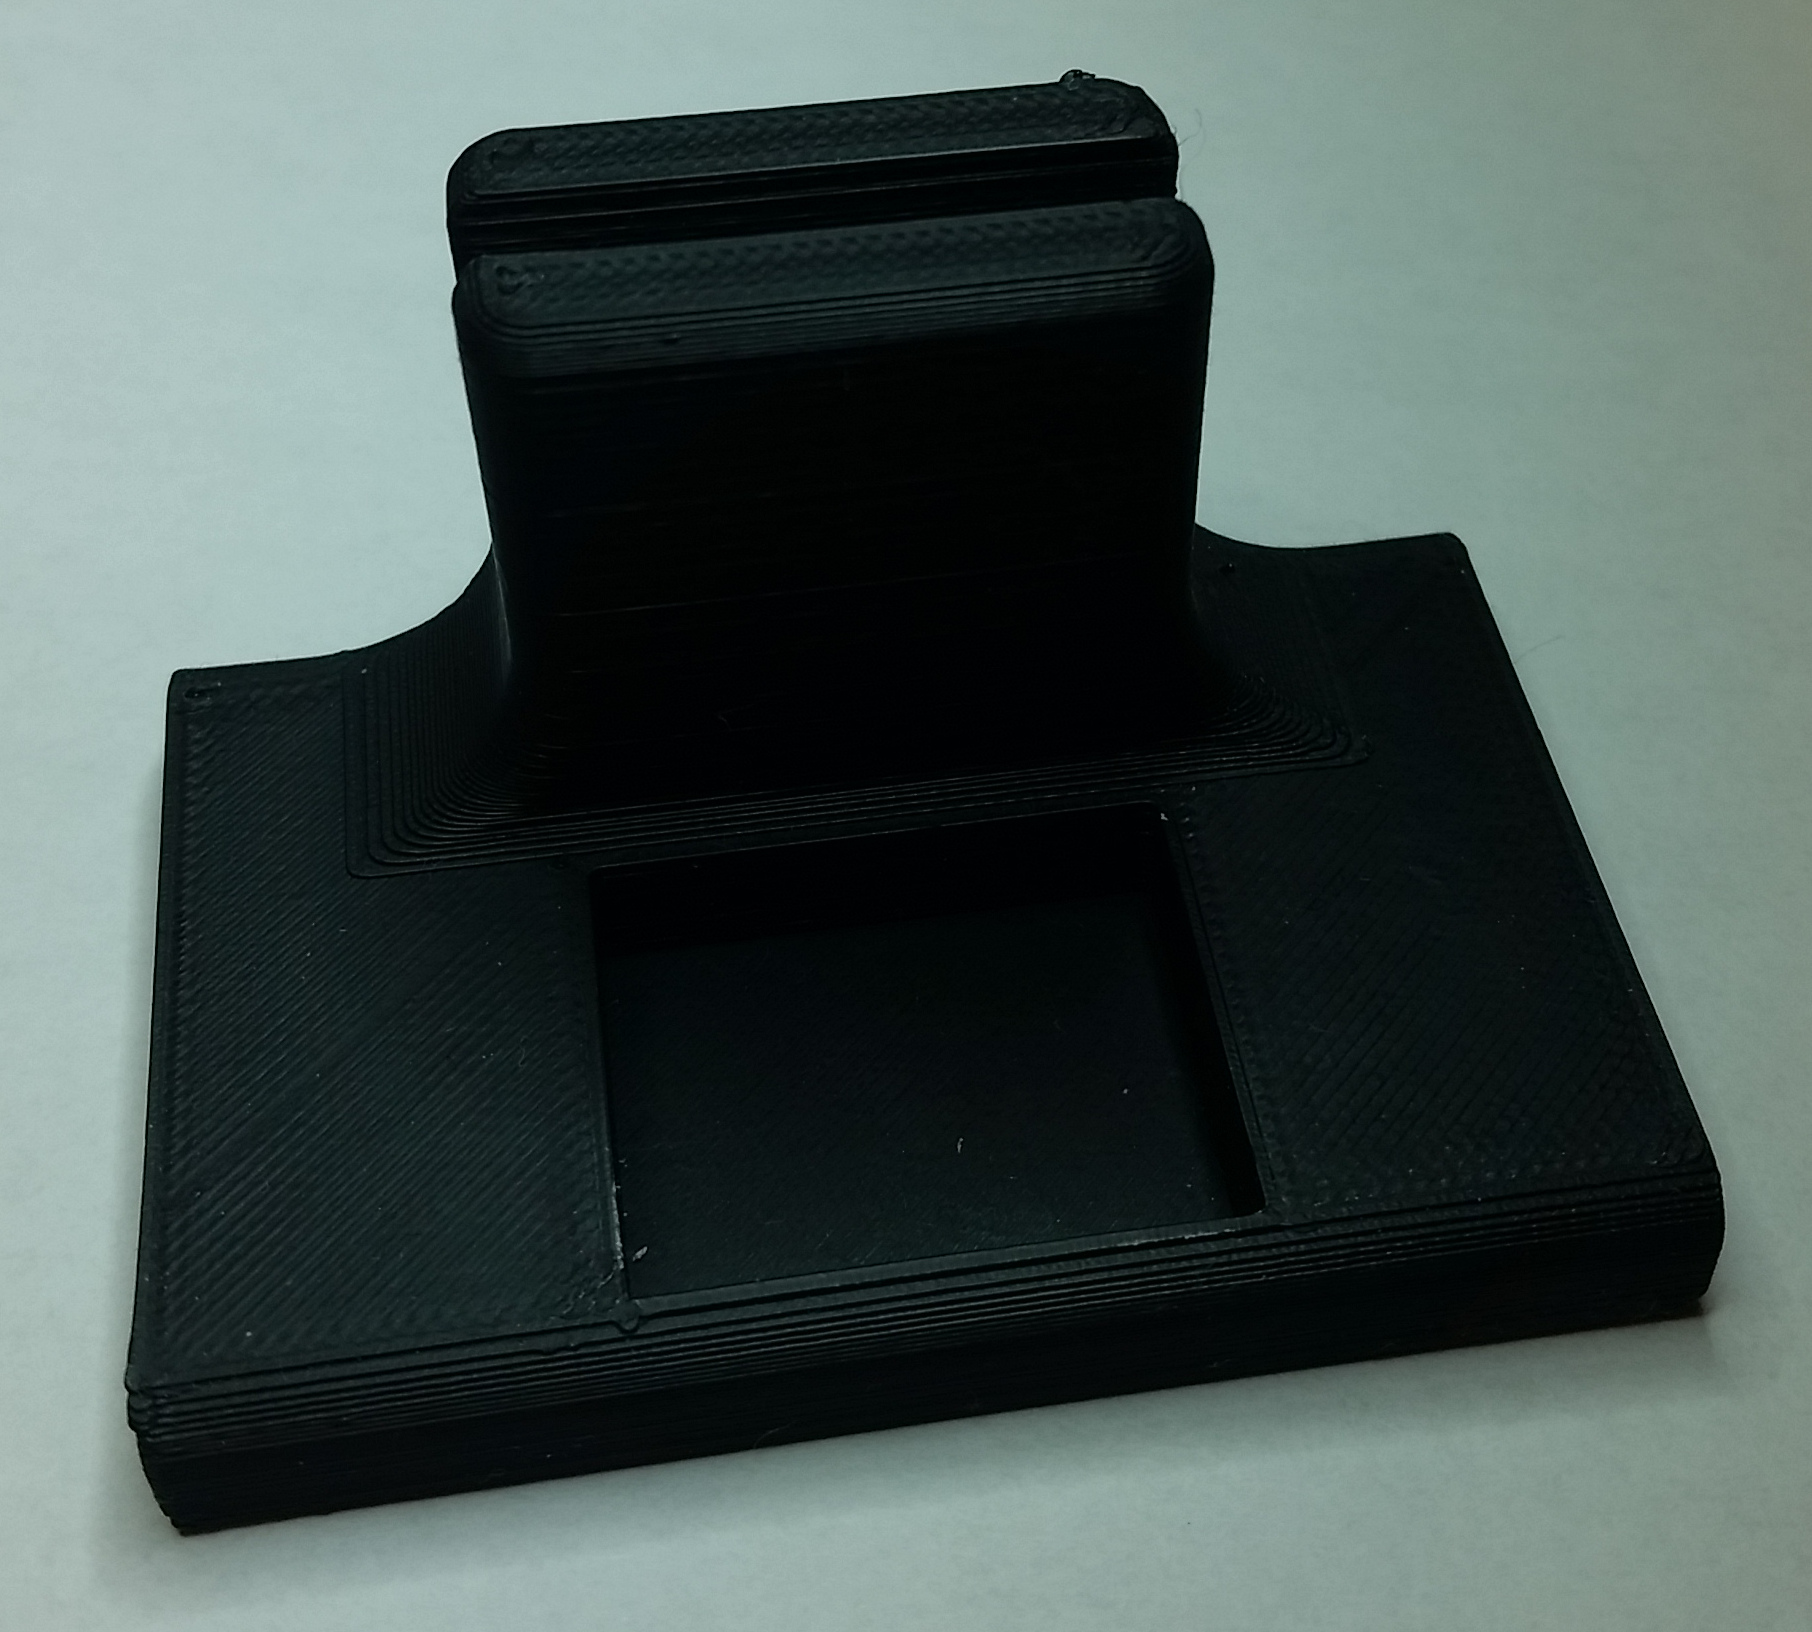
I could find similar LED strip clips online, but only with screw-sized holes. I wanted to use small nails for drywall, so I design and printed a nail version: rendering on the left, in place on the right.
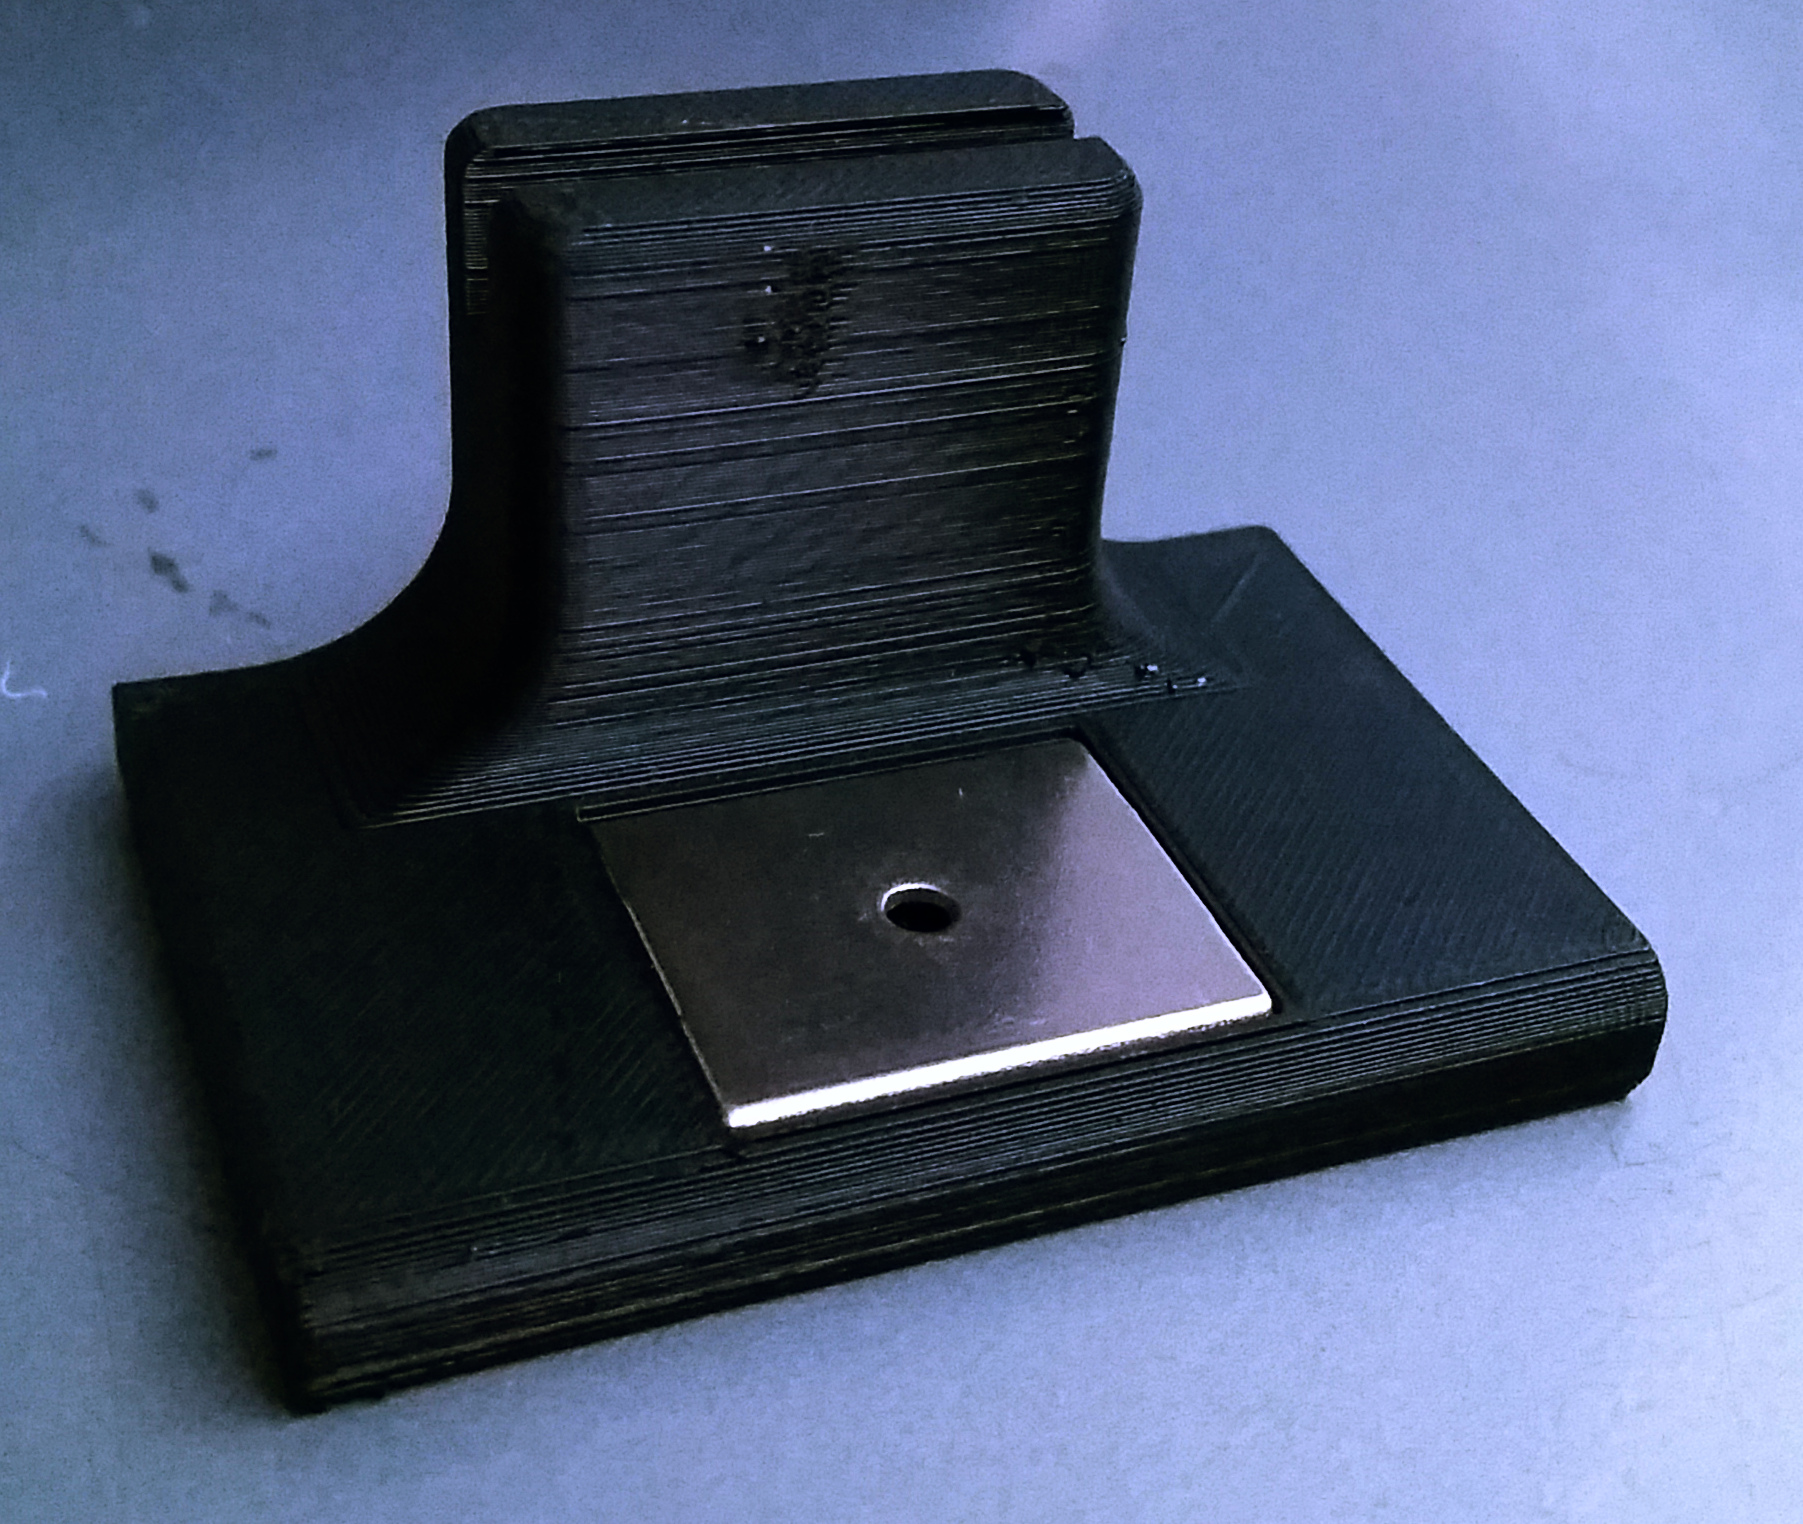
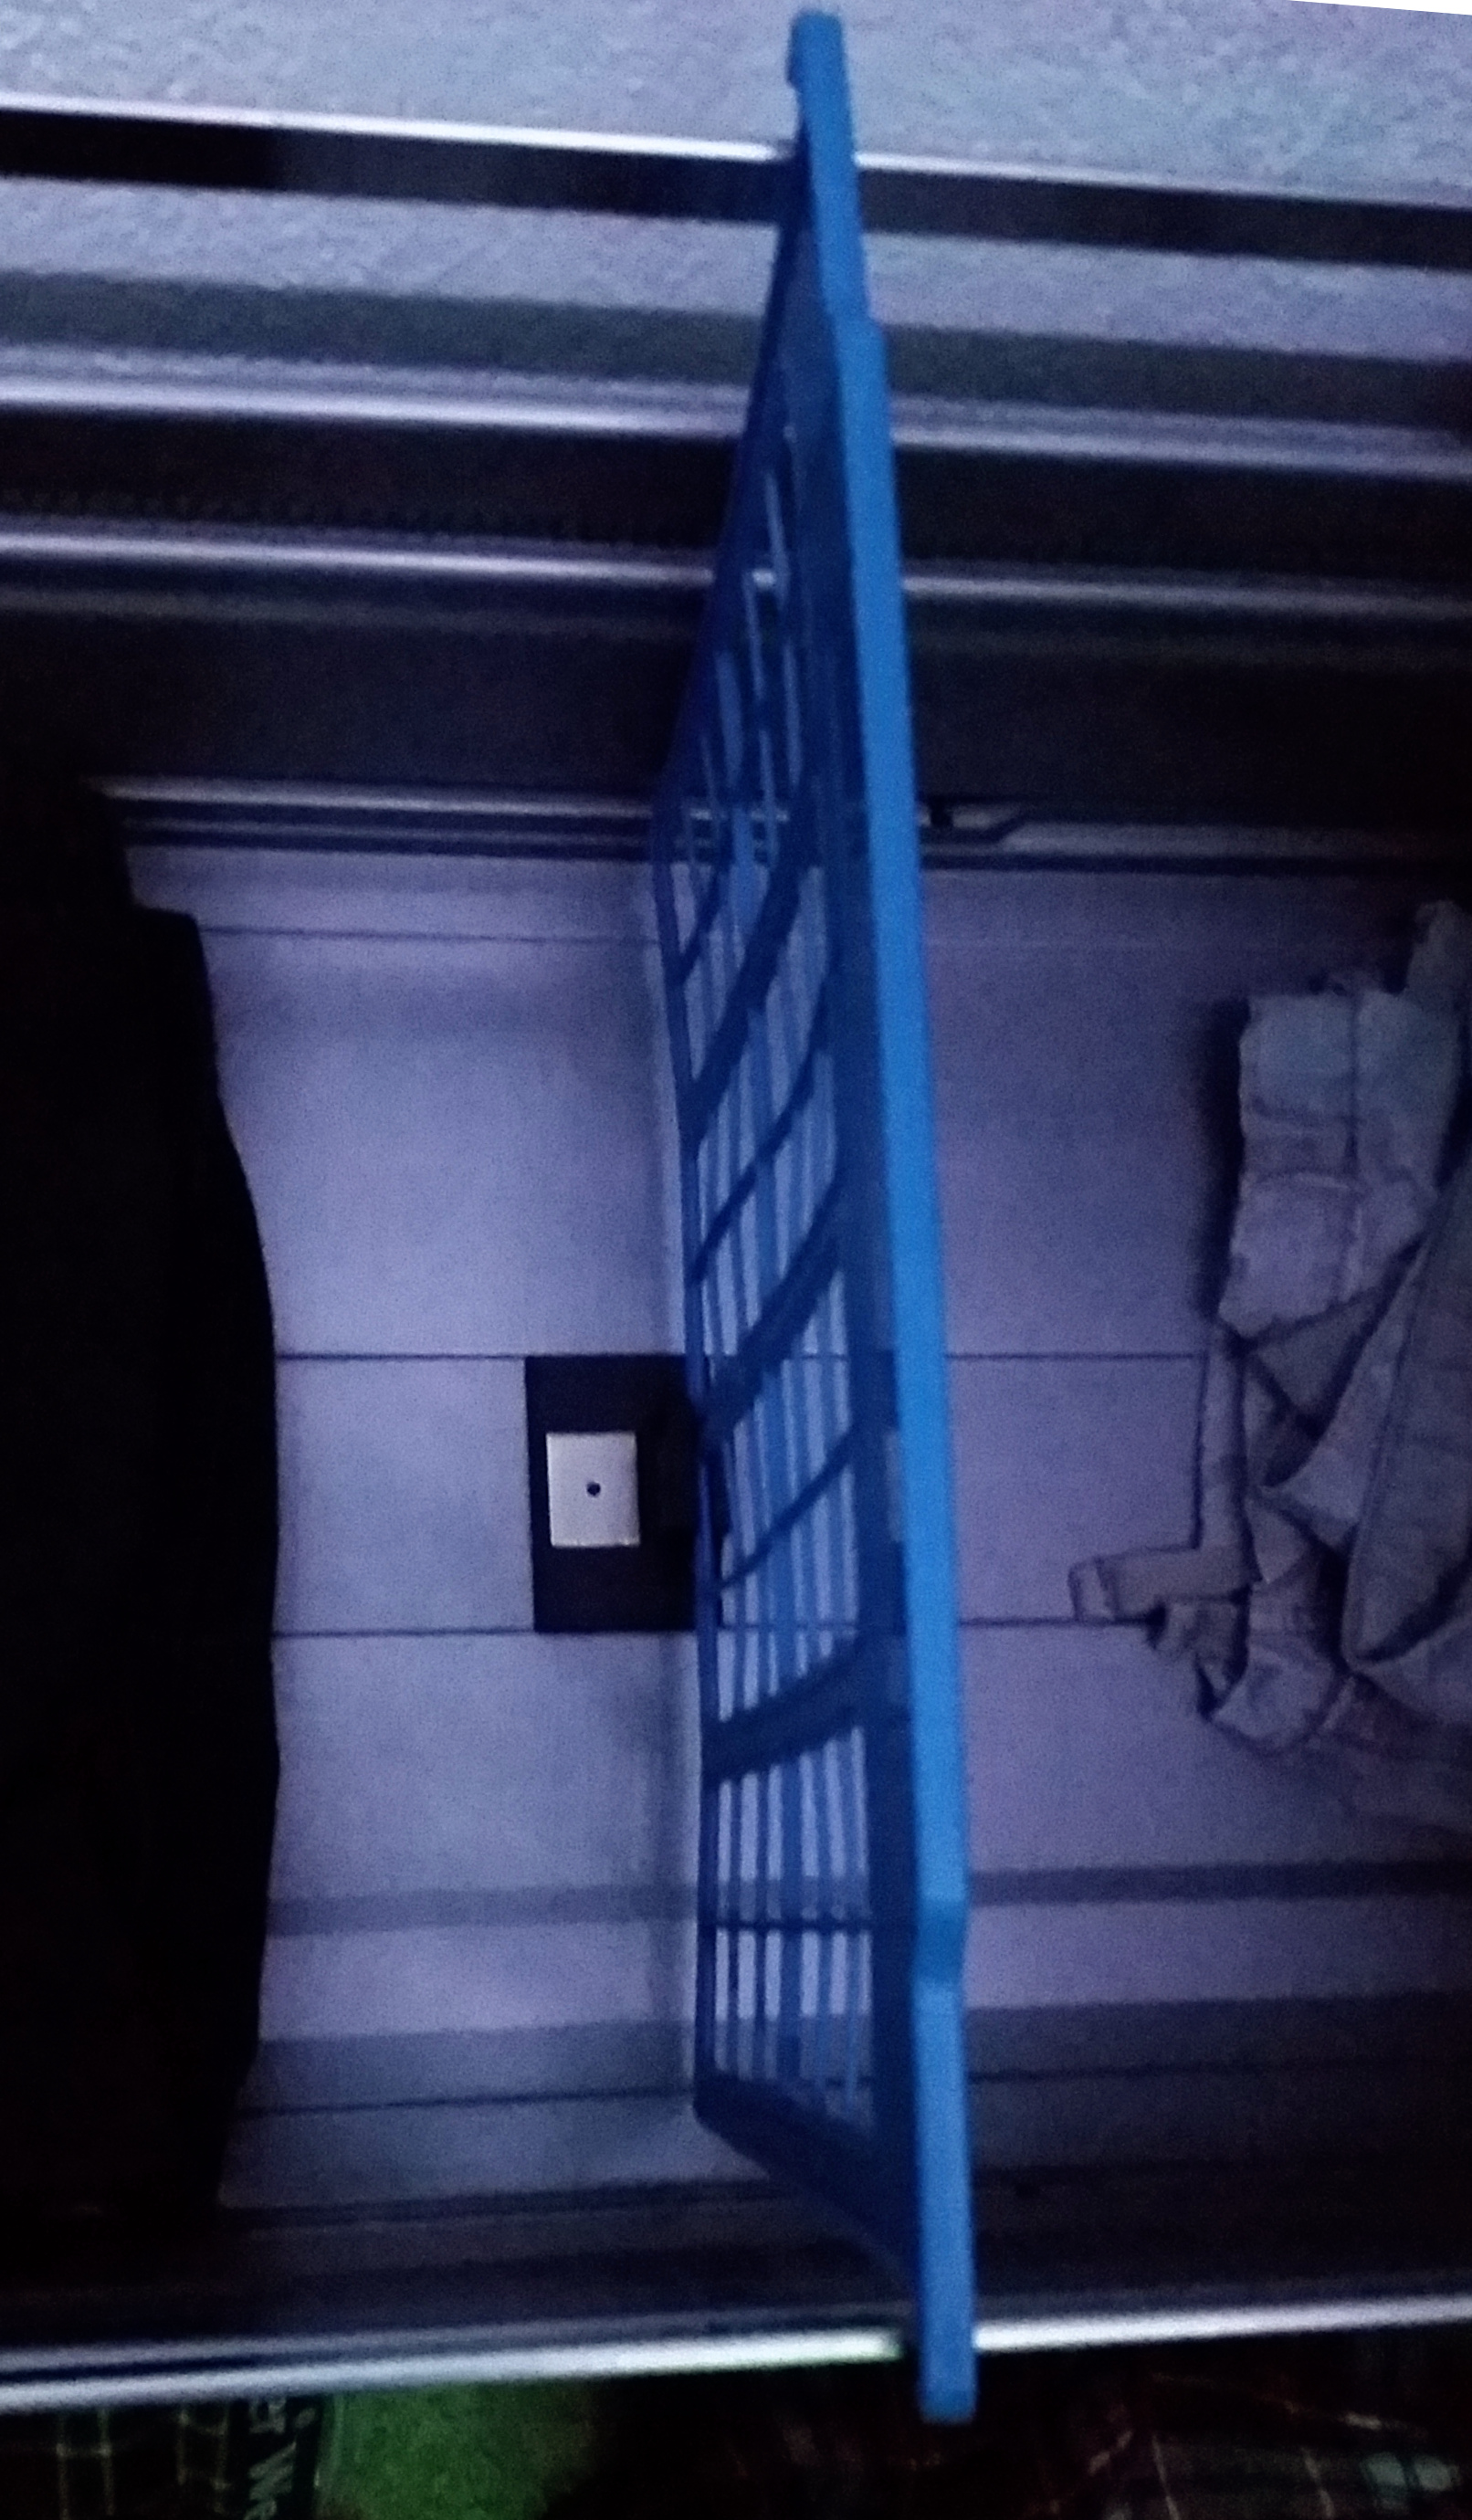
After mounting the strip on two walls, I realized that the other two walls in my room were actually concrete beams at the height of the ceiling. I can’t nail into concrete, so I whipped up a new version of the clip with a large pad for a command strip.
One problem occurred when I attempted to use the strips to illuminate my room with white light at maximum power: the color at the end of the strip would be much dimmer and redder in color than at the start the strip. I didn’t take a multimeter to it, but I expect the voltage at the end of the strip was drooping signficantly even while the beginning was at 12V due to the accumulated resistance over the length of the strip.
At this corner of the room, the strip starts (on the right) and ends (on the left).
I mostly resolved this by linking the power lines from the end of the strip to the power lines at the beginning of the strip in the corner where they met.

After applying the fix, the discoloration in the start/end corner (on the right) is nonexistent, and the discoloration on the far corner (bottom left) is minimal.
Subsequently, there was still a slight discoloration in the middle of the strip, in the corner of the room farthest from the beginning (and end) of the strip, but I resolved this (not pictured) by slightly dimming all the LEDs and then compensating the LEDs by a linear factor based on their distance from the start/end corner.
I run various effects on my strip that are only achievably with addressable (groups of) LEDs–theatre chase patterns, racing blobs of color, etc–but one of my favorites is simply running the same color on every LED and fading through the rainbow. This produces an effect on my other decorations, seen below, reminiscent of what I’ve heard called RGB Art. Here’s a gallery of RGB Art by artist duo Carnovsky.